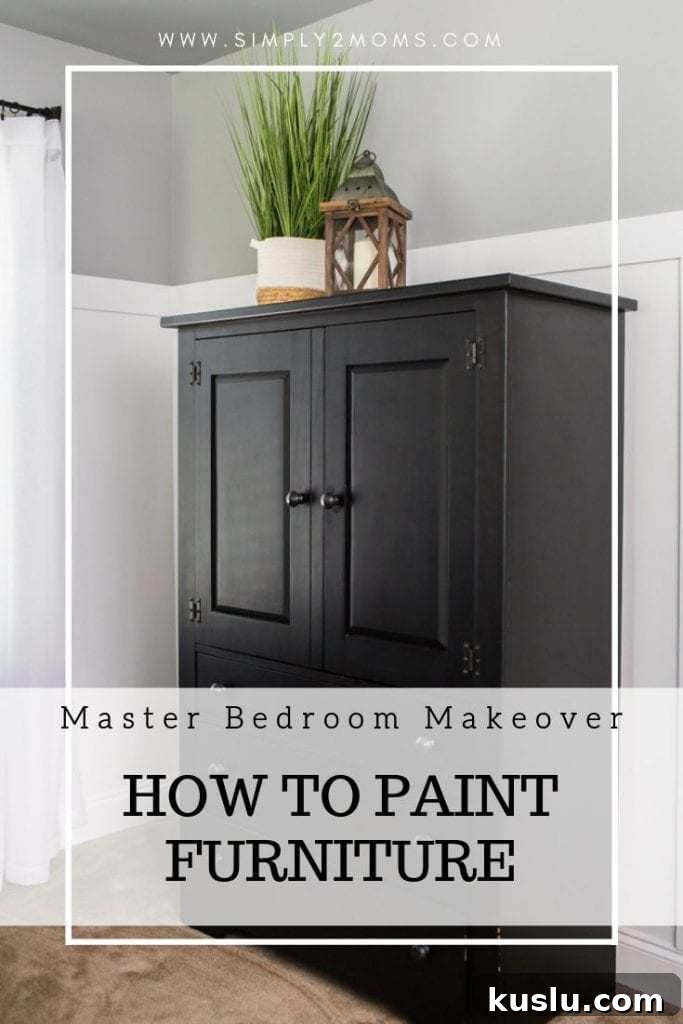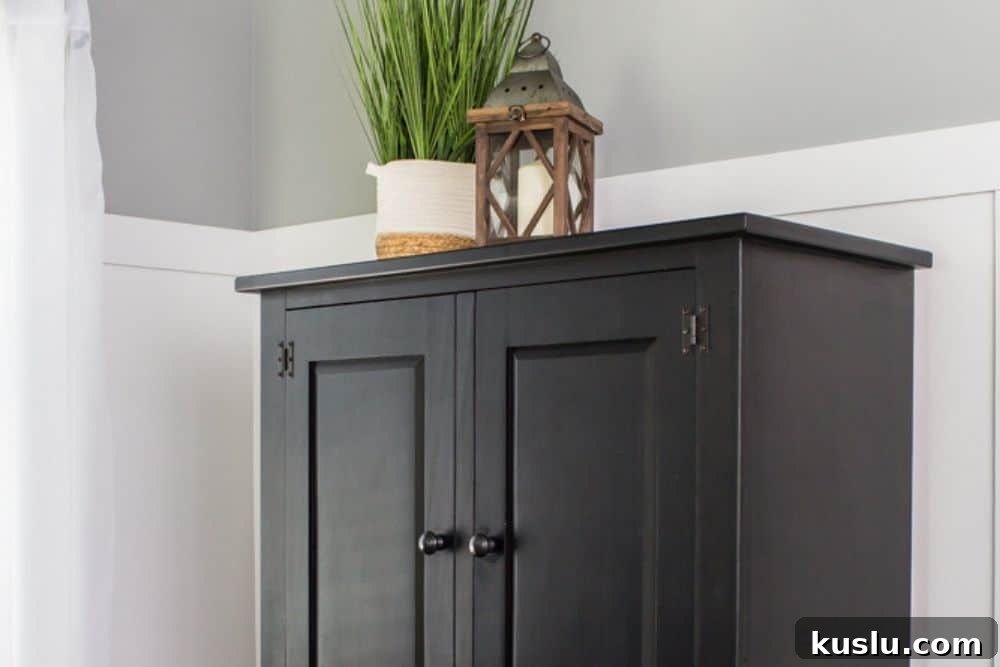
Painting old furniture gave our master bedroom a fresh, updated look without the expense of replacing everything. Below I’ll walk you through the exact steps we used to transform solid pine pieces into a cohesive, modern farmhouse set.
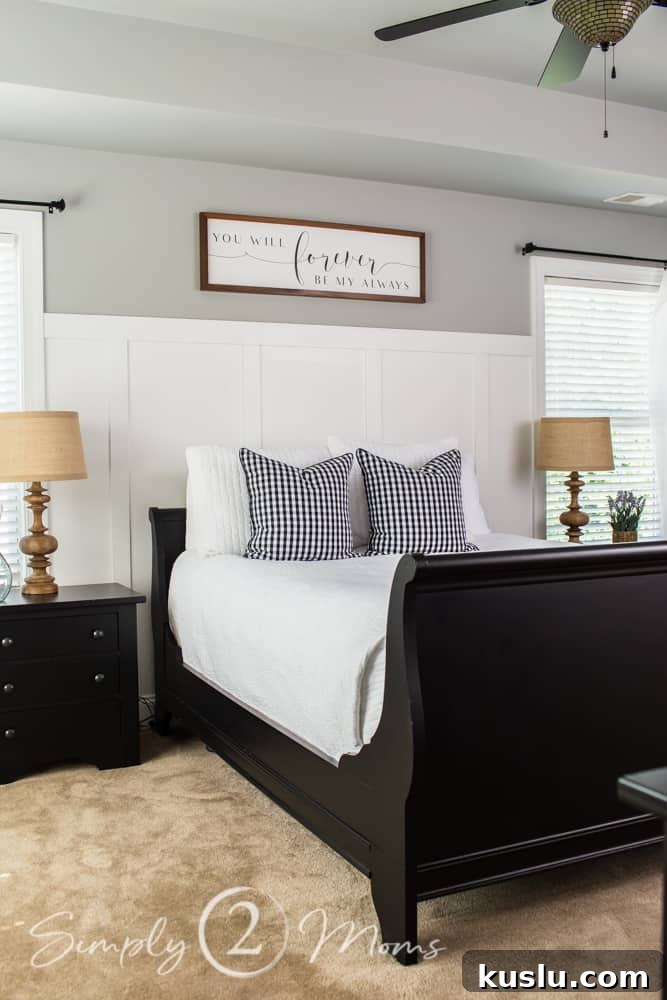
If you have well-made furniture that looks dated, painting it is often the fastest, most budget-friendly way to refresh a room. We kept the original pieces—Broyhill solid pine with classic lines—but updated the finish from an orange-toned stain to a deep black to better suit our updated décor. This is part two of our master bedroom makeover series; if you’d like the full before-and-after room reveal it’s easy to find in our project archives.
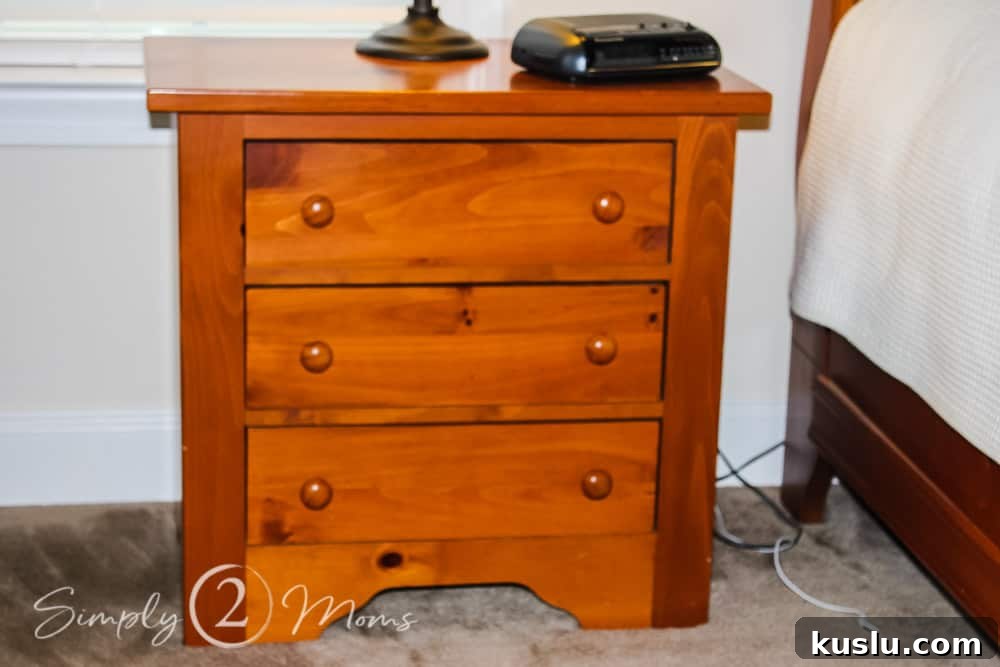
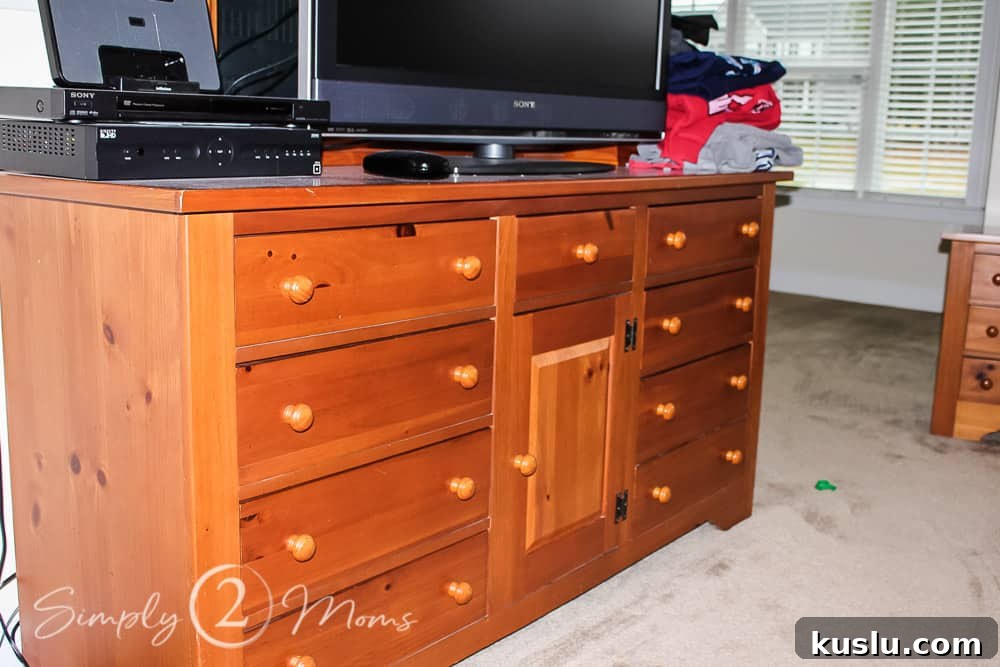
Our bedroom furniture is more than two decades old and still in excellent shape. Because the structure was solid, repainting made far more sense than replacing. The pine had lots of knots and a warm, orange stain that felt out of date. Painting allowed us to keep the quality construction while completely updating the style.
Before
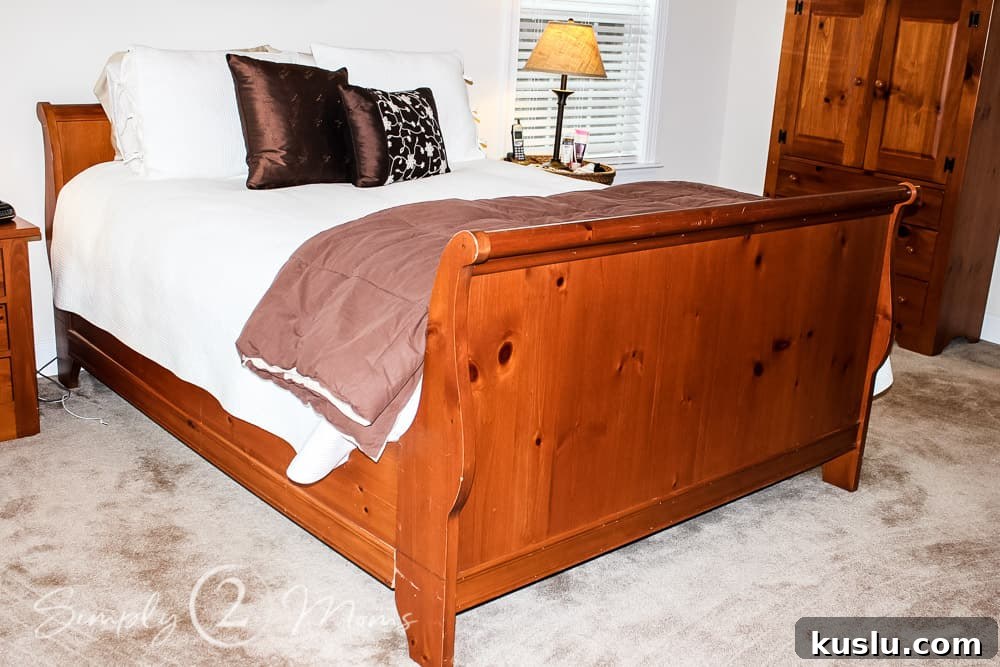
I considered white, but since we painted the board-and-batten wall white, I chose black for the furniture to create contrast and cohesion. I used oil-based paint for durability and a smooth finish; it requires more drying time than latex but delivers a hard-wearing, low-gloss sheen that looks professional.
Below is another before photo showing the original orange finish and the natural pine knots. These details helped inform the preparation and primer choices so the final finish would be even and durable.
Step 1 – Clean
Start by thoroughly cleaning every piece. Dust, fingerprints, and grease will interfere with primer adhesion, so use a degreasing cleaner or a mixture of mild detergent and water. Wiping down drawers, trim, and hidden areas ensures a consistent finish. Take your time here—proper cleaning makes the rest of the job much easier.
Step 2 – Prime
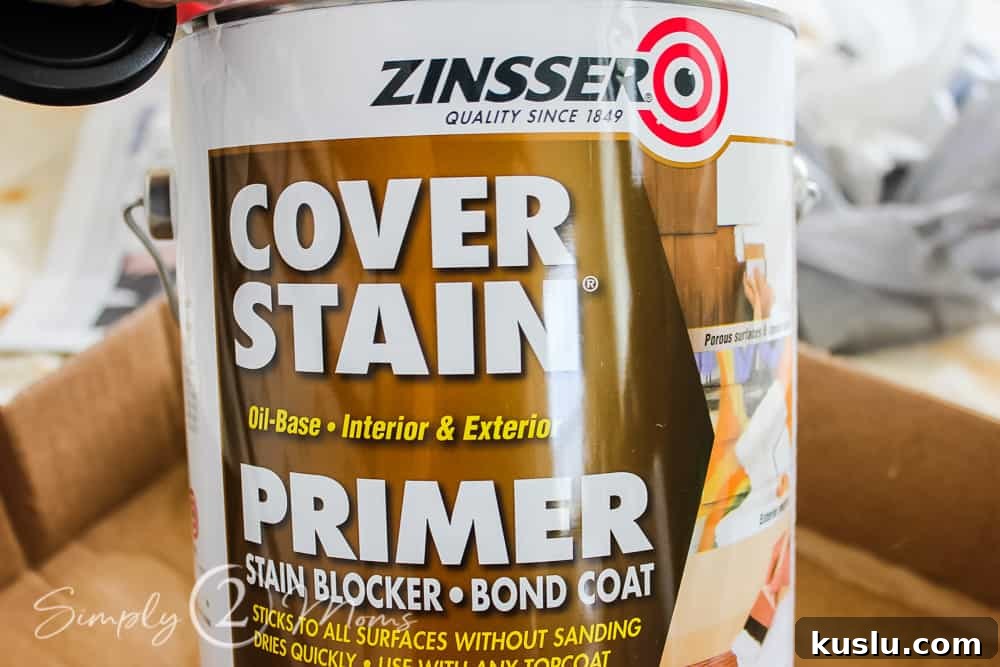
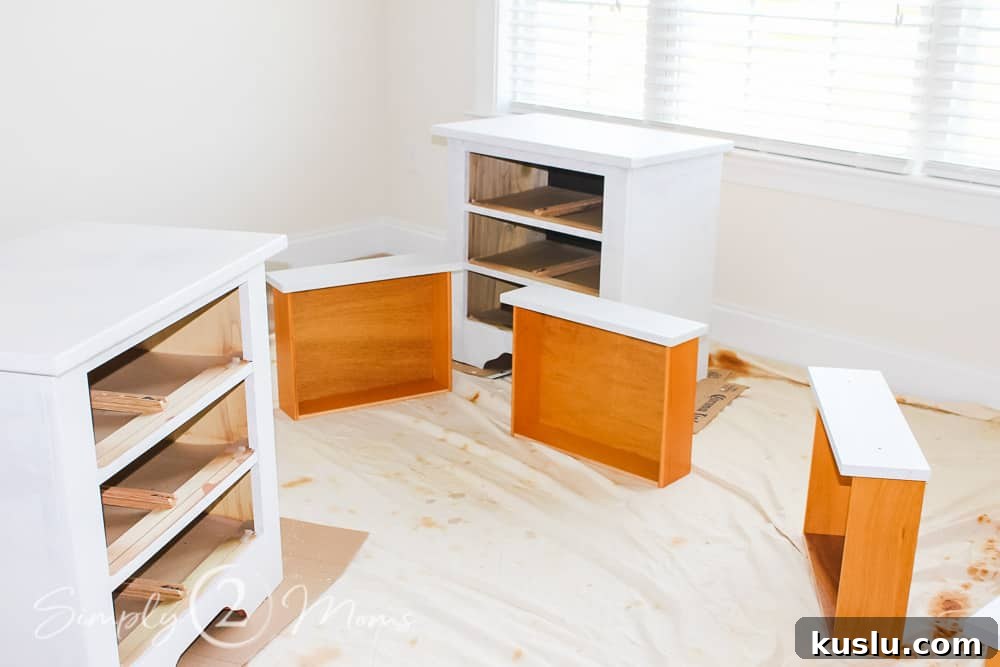
We used Zinsser cover stain primer to block the existing color and tannins from showing through. A high-quality oil-based primer lets you skip aggressive sanding on many pieces, saving time and effort while still providing excellent adhesion. I applied the primer with a smooth foam roller for large flat areas and a 2-inch angled brush for edges and details.
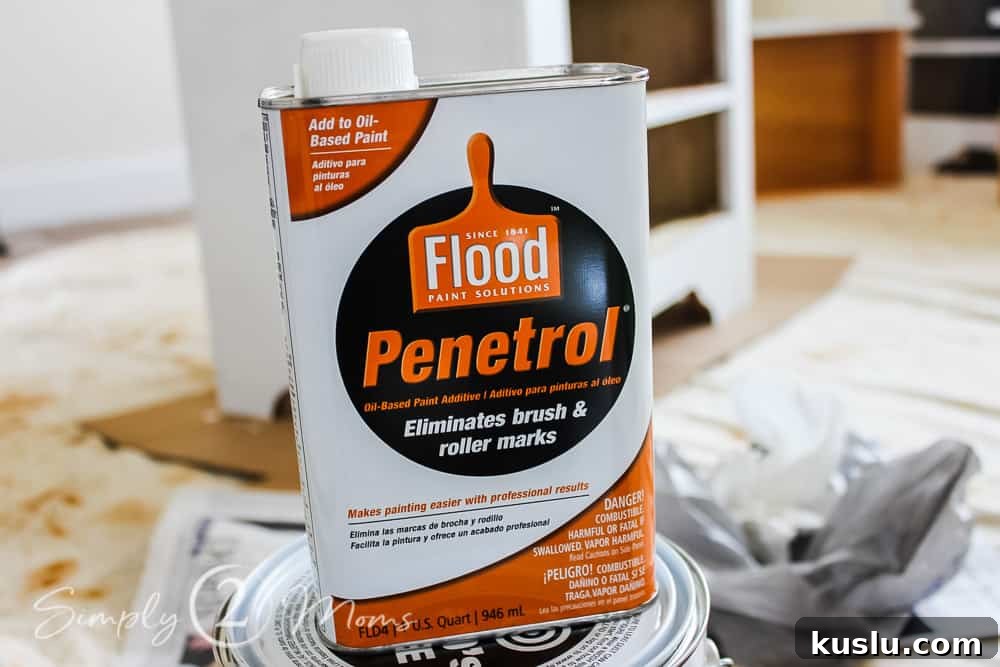
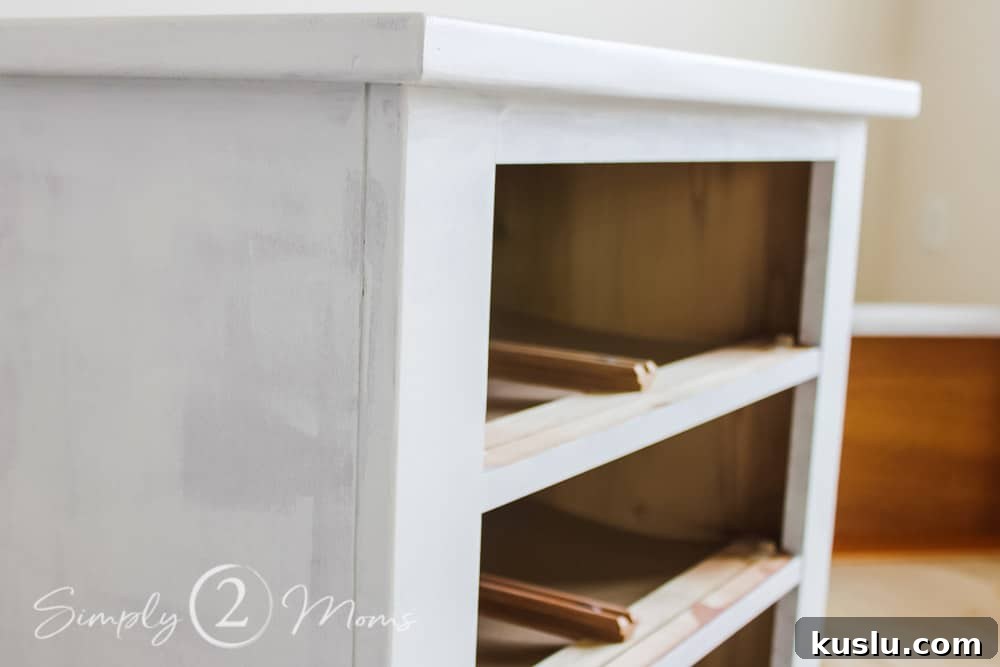
To reduce brush marks, I mixed a paint conditioner into the primer. I applied two coats and lightly scuff-sanded between coats with fine-grit sandpaper for a smooth base. Removing hardware and drawer fronts before priming makes the work neater and speeds drying.
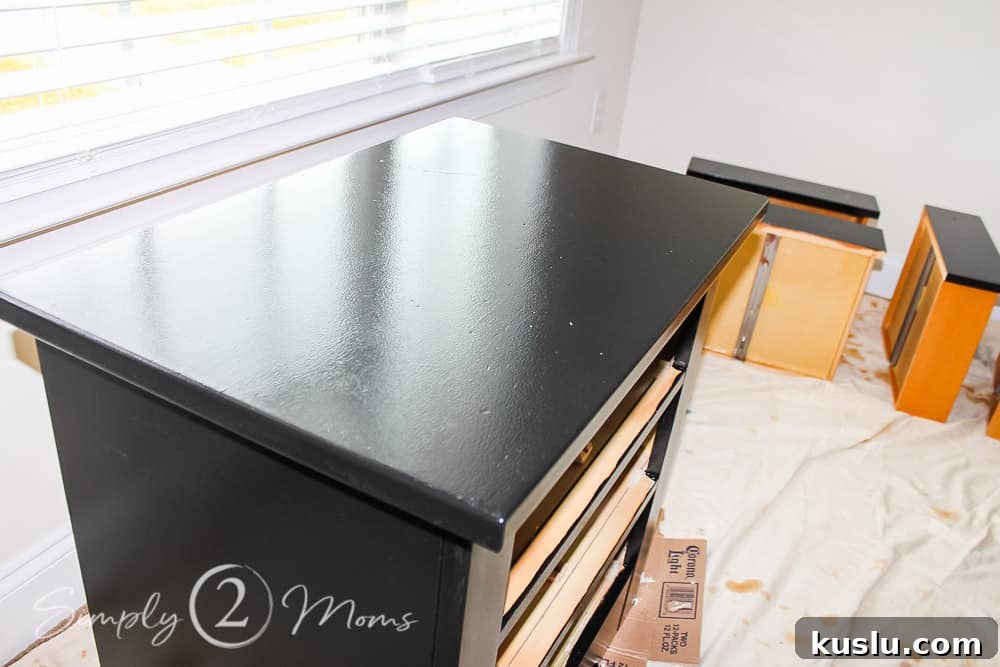
Here are a few pieces staged during priming so you can see how the work progresses when knickknacks are removed and drawers are taken out for easier access.
Step 3 – Paint
For the topcoat we used an oil-based black paint that provides excellent coverage and durability. Oil-based paints level well, producing a smooth finish that resists scuffs better than many latex paints. If you prefer, use a paint specifically formulated for furniture for similar durability with easier cleanup.
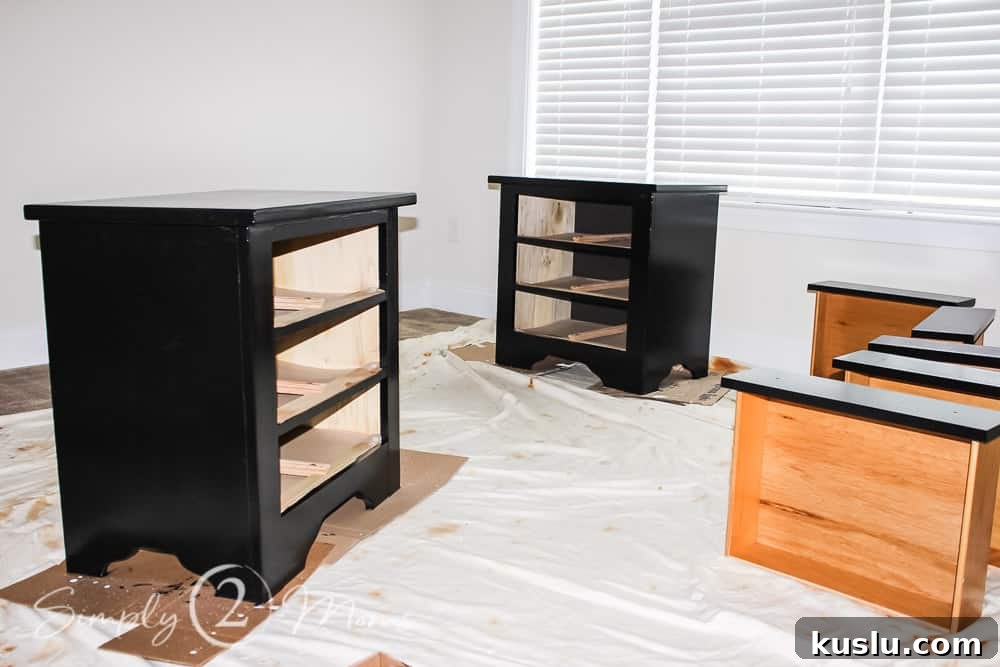
I added a paint conditioner to the oil paint to minimize brush marks, then rolled large surfaces and brushed trim and crevices with a 2-inch angled brush. Allow a full 12 hours or more between coats for oil-based products to ensure proper curing and avoid tackiness. Two coats produced a deep, even color and a subtle sheen that looks like factory finish.
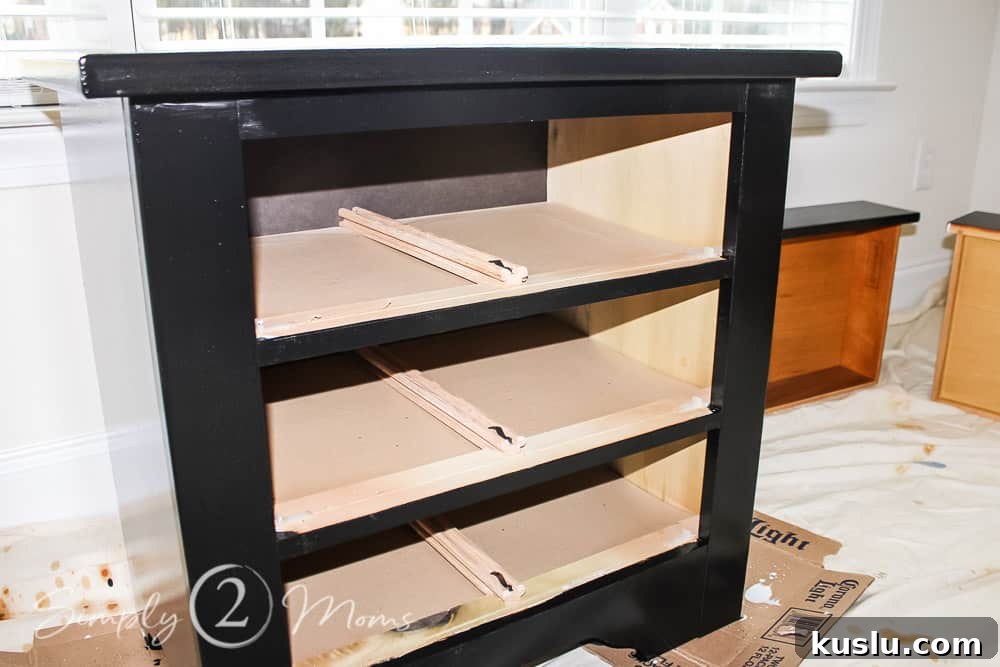
Using oil-based paint eliminated the need for an added sealer because the finish itself was durable and attractive. If you use water-based paint, consider adding a clear topcoat for extra protection on high-use surfaces.
Step 4 – Refinish Hardware
Replacing hardware can be costly, so we refinished the original wooden knobs to resemble metal. After a coat of primer, we used a metallic-effect spray paint to give the knobs a hammered-metal appearance. The result reads like new hardware and complements the black finish beautifully—without the expense of buying all-new pulls and knobs.
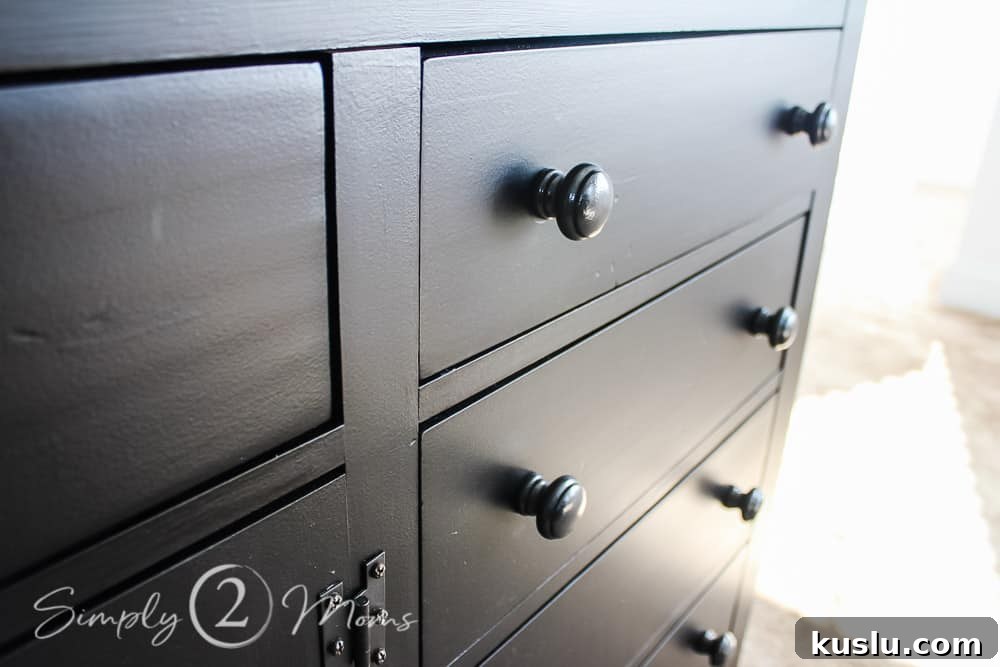
Those spray-painted knobs look like aged metal against the black, adding subtle texture and interest. Refinishing is a great cost-saving tactic that still delivers a polished, cohesive look.
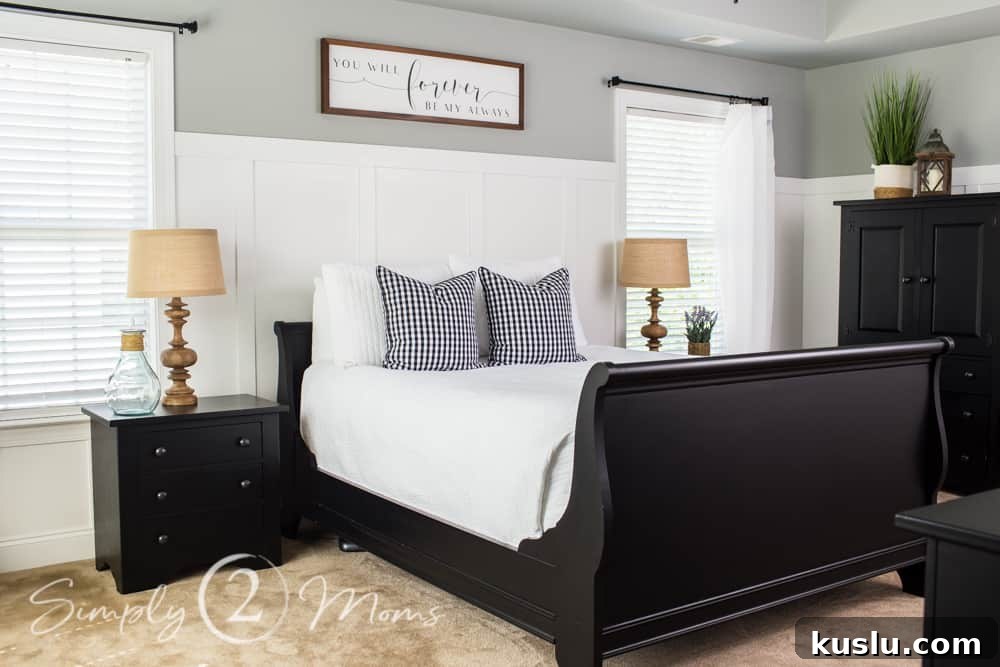
A fresh coat of paint can completely change the feel of a room. If buying new furniture isn’t in your budget, painting is an affordable way to modernize your space while preserving well-made pieces. The transformation is dramatic and the project is very doable for most DIYers with a little time and patience.
Materials and tips used for this project
We used a stain-blocking primer rated for wood, an oil-based topcoat for durability, and a paint conditioner to reduce brush marks. Roll large surfaces and brush details, allow adequate drying time between coats, and refinish original hardware when possible to save money. Removing drawers and hardware before painting keeps edges clean and speeds the process.

More posts in this series
- Master Bedroom Makeover | Before & After
- Master Bedroom | Installing Board & Batten
Other room makeover projects you may like
- Teen Girl Bedroom Makeover Final Reveal
- Modern Farmhouse Bathroom Makeover
- Budget Bathroom Makeover Final Reveal
- Master Bathroom Makeover
Pin it to remember it: