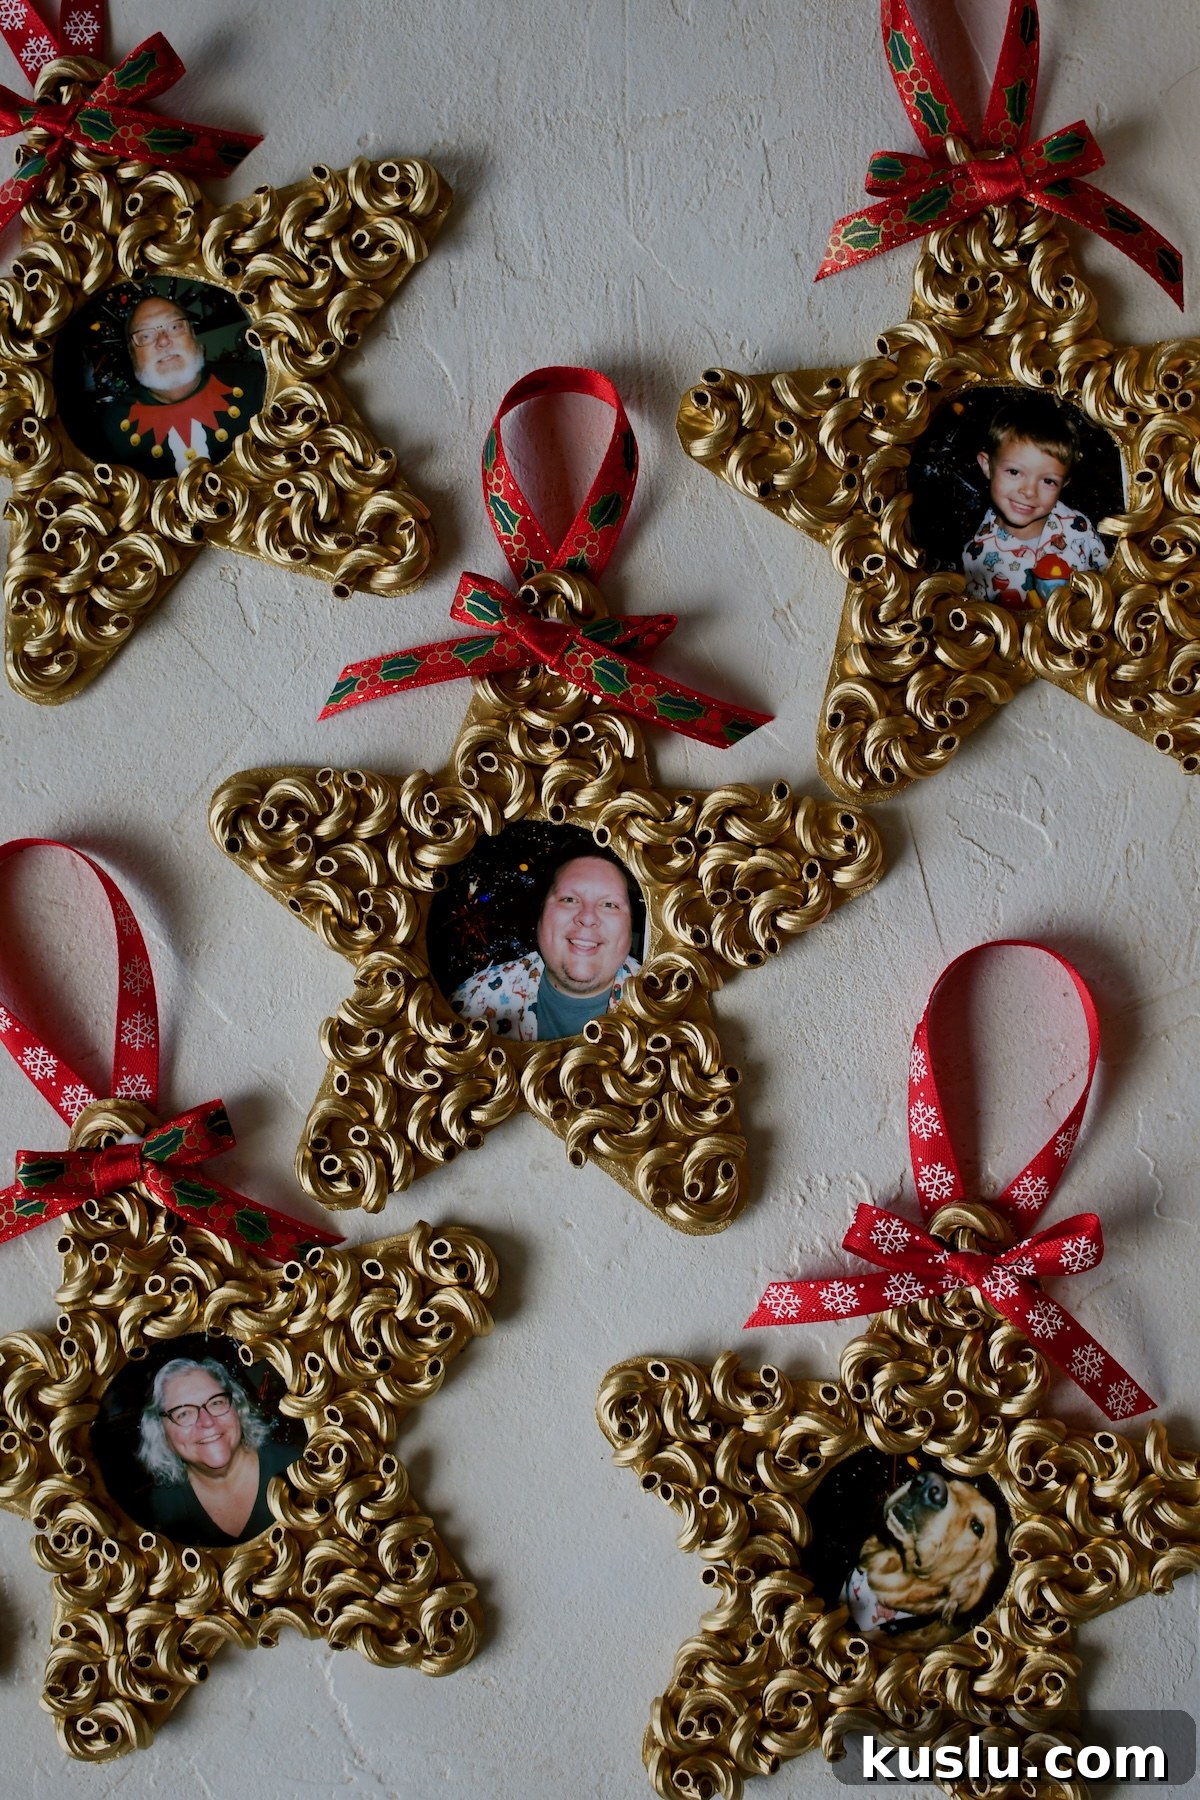
I have fond memories of opening the ornament box each year and finding the handmade ornaments from my childhood. Today I’m sharing an Easy Pasta Christmas Ornament DIY inspired by one of my favorites—the macaroni star with a photo in the center. I recreated that memory with my nephew, making stars that hold Instax photos of our family.
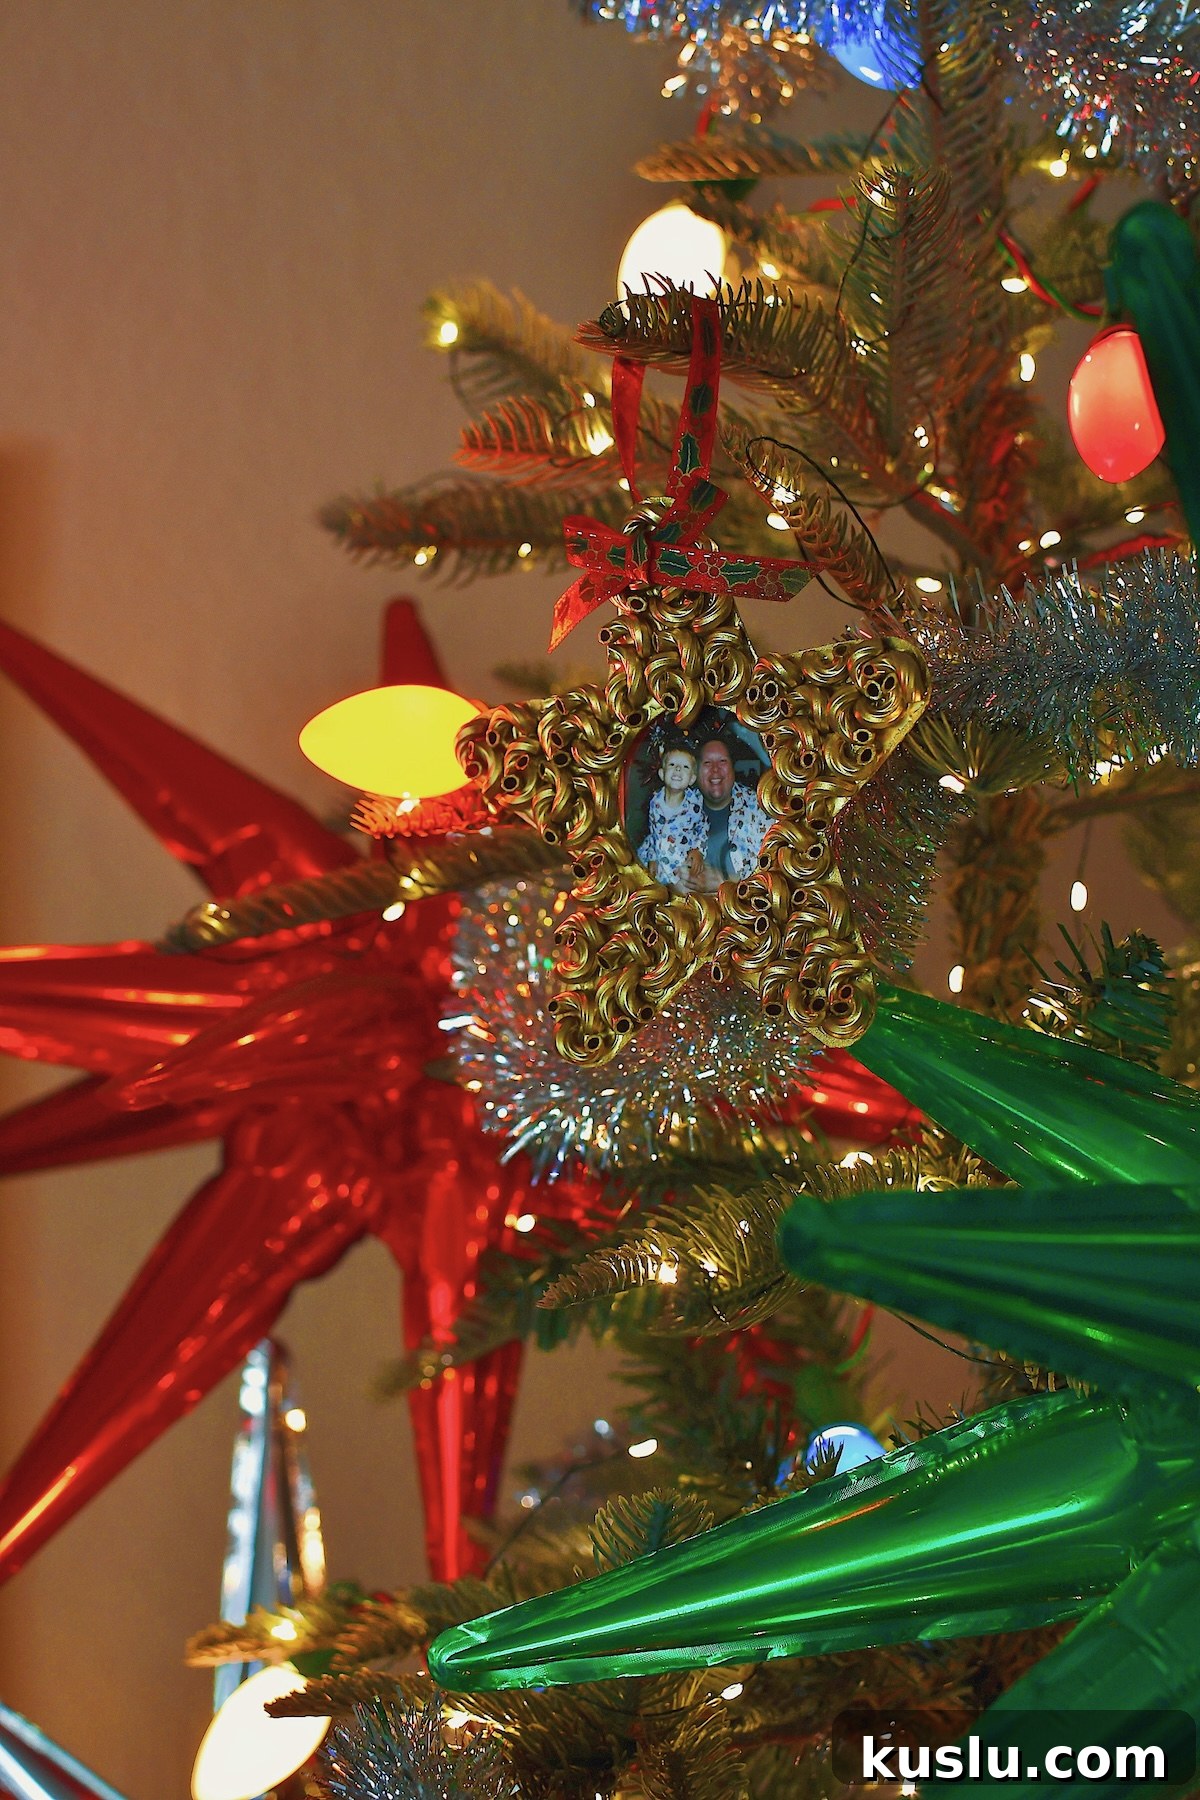
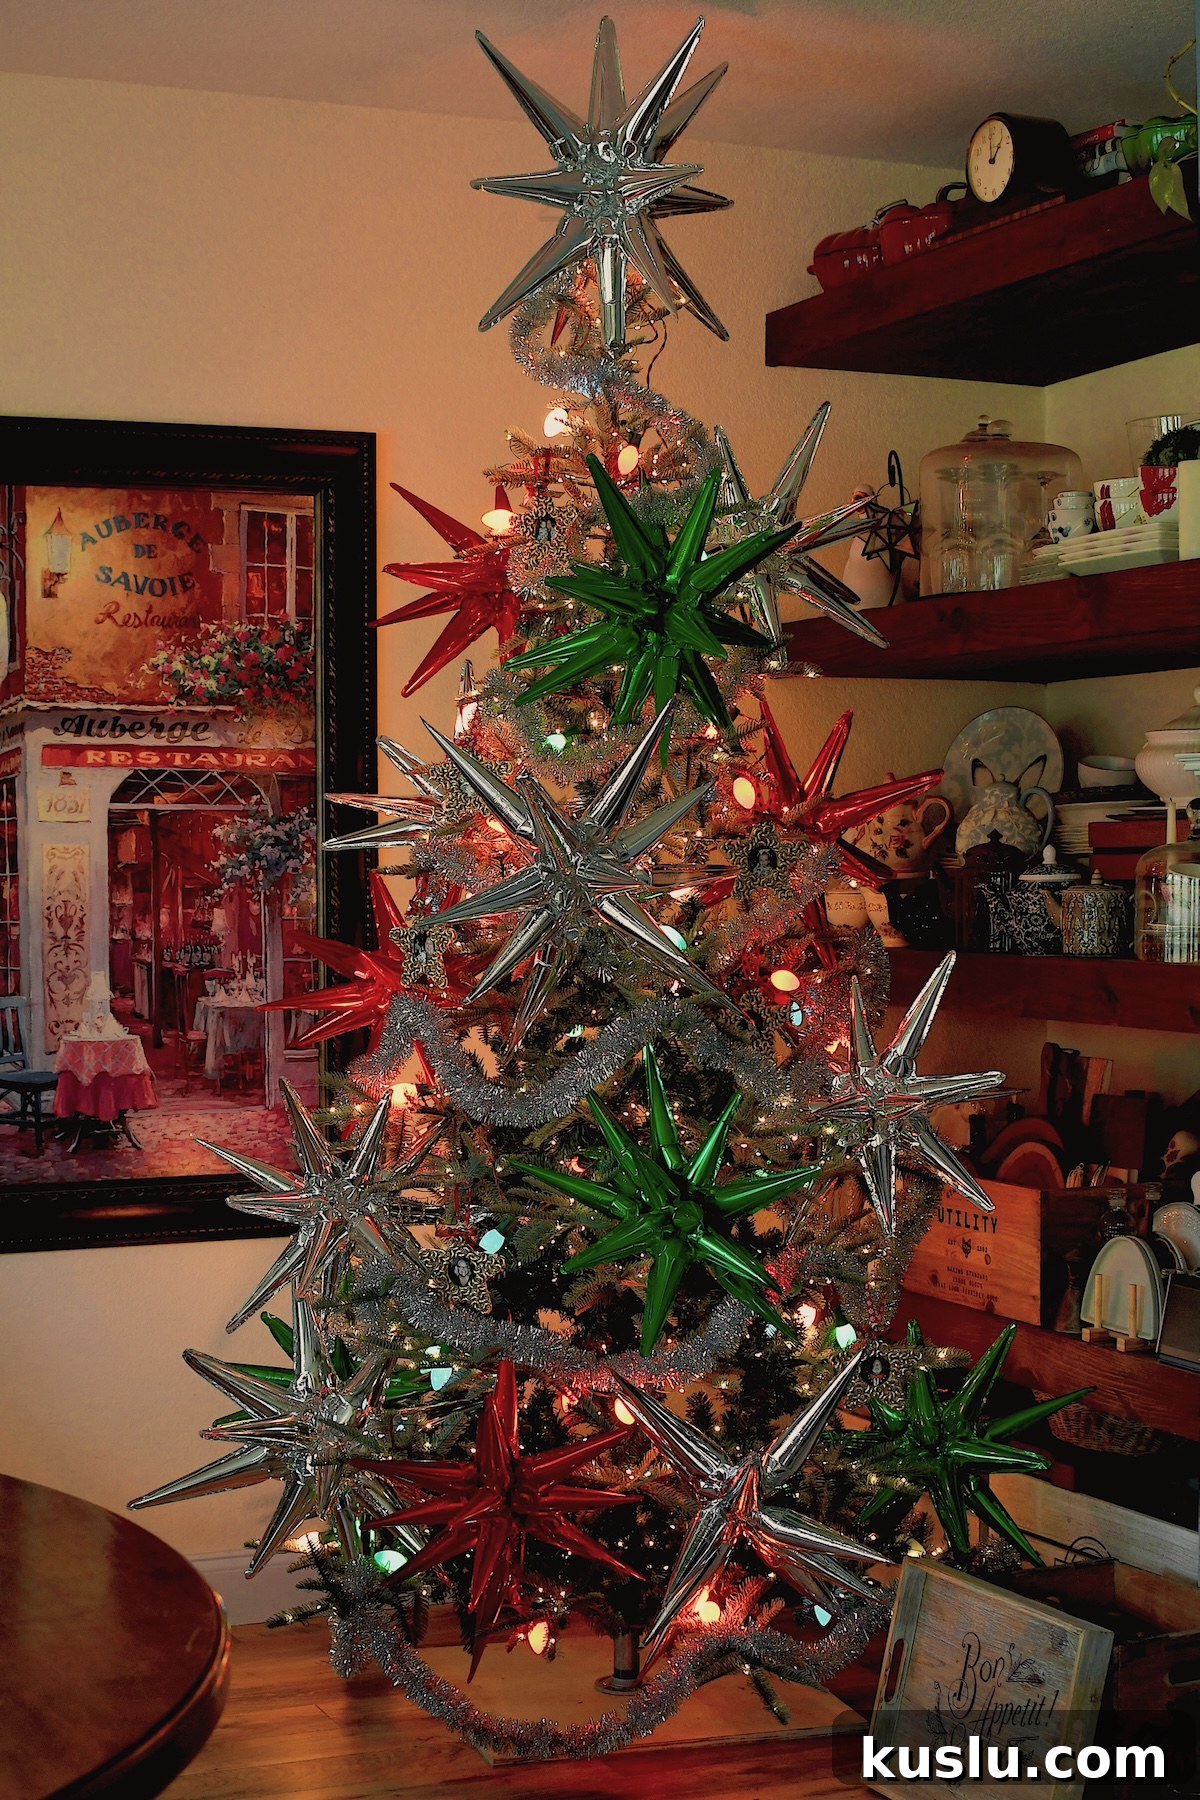
This project is simple, kid-friendly, and perfect for personalizing your tree. The finished ornaments look charming in twinkle lights and make heartfelt keepsakes you’ll bring out every year.
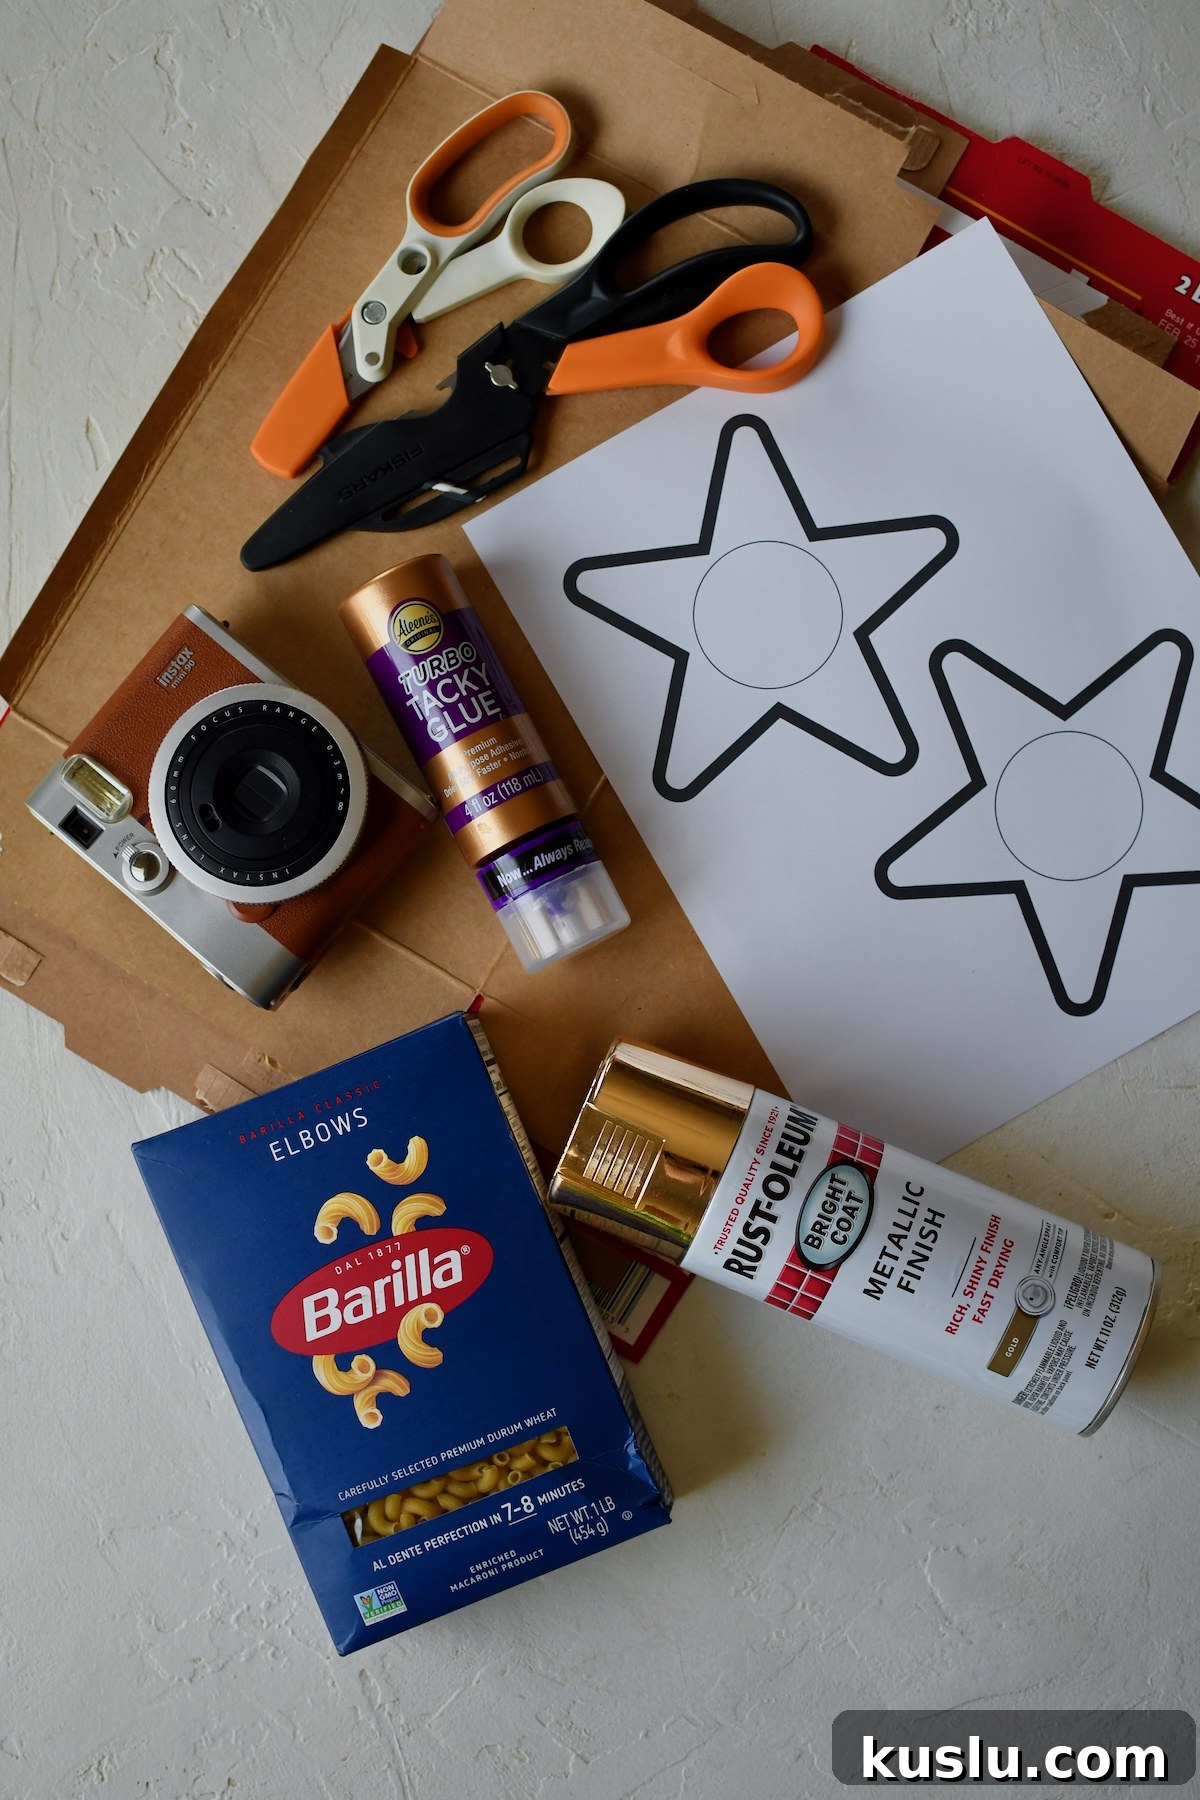
What you need:
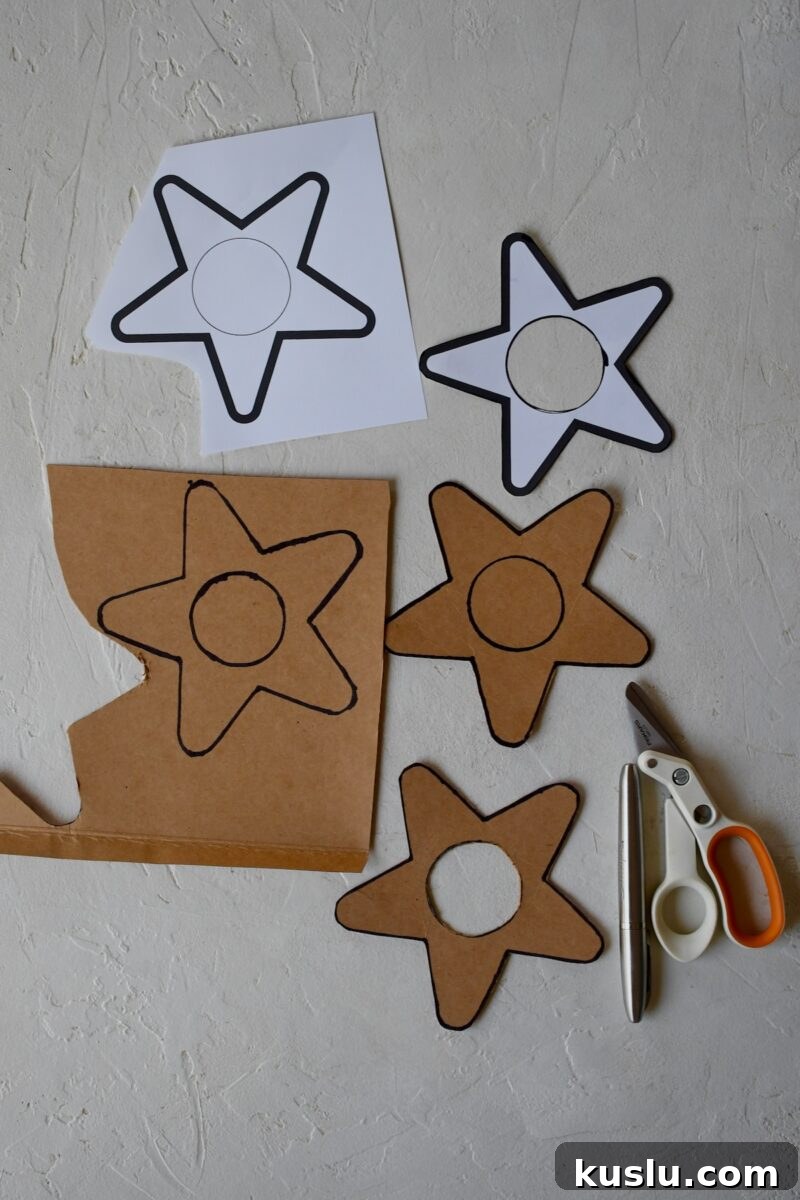
Below is a concise list of supplies and tools used for this craft. I included a star template you can print, which fits an Instax photo with a little trimming—the center cutout lines up nicely.
Tools and materials:
- Scissors or craft knife
- White craft glue or hot glue (with supervision)
- Instax camera and film (or small printed photos)
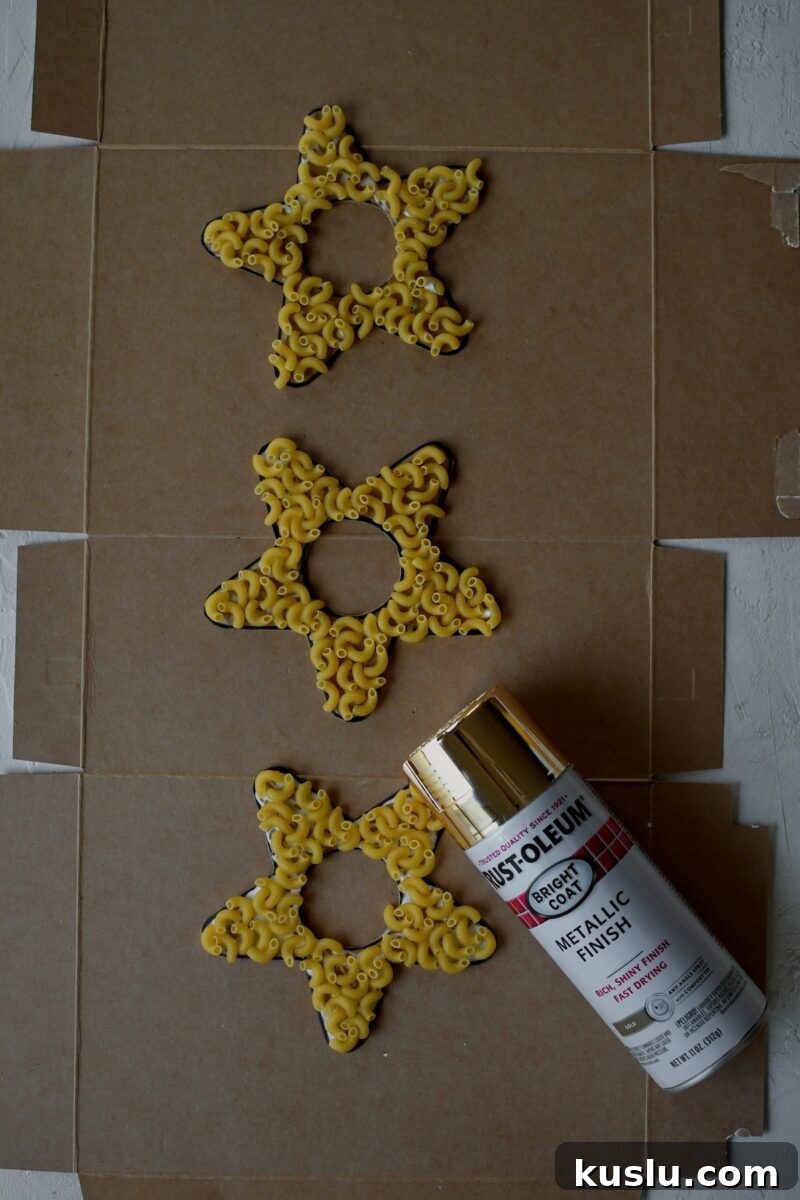
- Gold spray paint
- Elbow macaroni (or other shaped pasta)
- Empty cracker or cereal box (sturdy cardboard)
- Ribbon or string for hanging
Method:
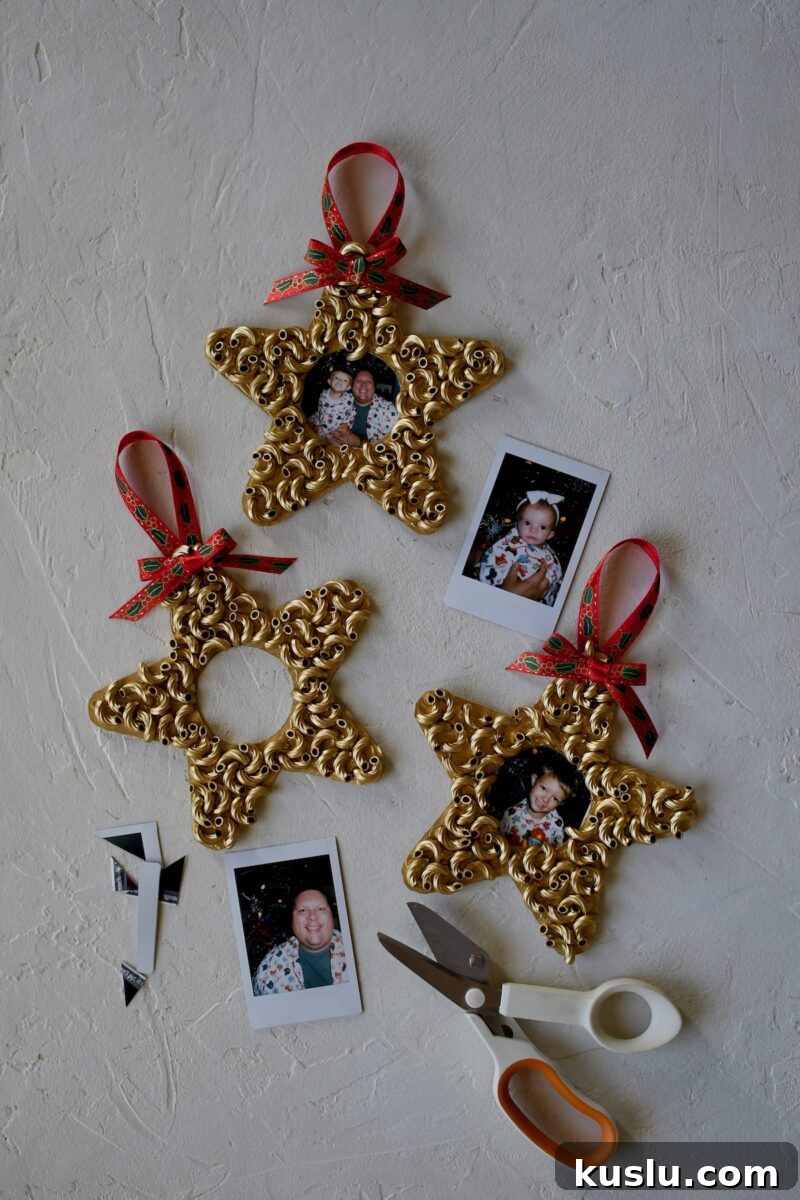
1. Print and cut the star template, then trace it onto sturdy cardboard—an empty cracker or cereal box works well. Cut out as many stars as you want.
2. Carefully cut the center opening for the photo using scissors or a craft knife on a cutting mat so the photo will fit through the hole and sit behind the frame.
3. Apply glue to the cardboard surface and attach the pasta pieces in rows or patterns. This is a great step to involve kids—my 3-year-old nephew loved placing the noodles.
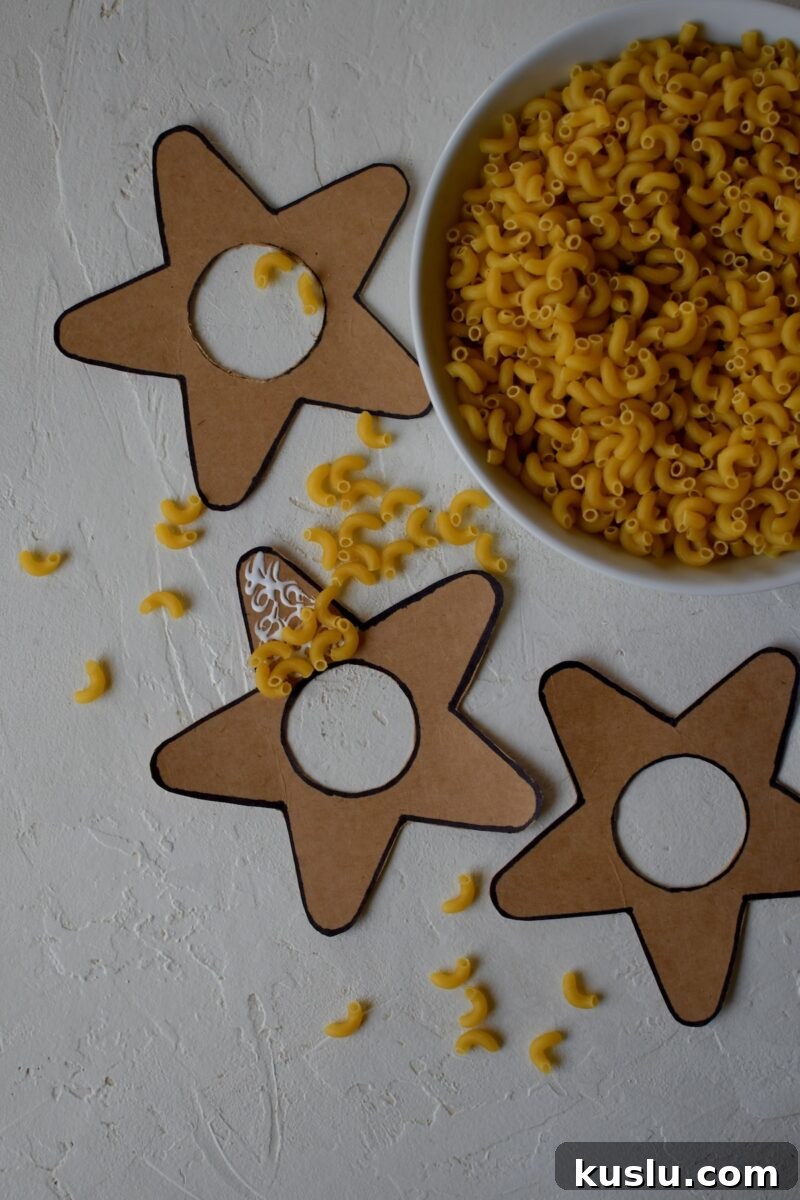
4. Allow the glue to dry fully. Then take the stars outside and spray them with gold paint in thin, even coats. Let the paint dry between coats to avoid drips.
5. Add a small bow or other embellishment, and attach a loop of ribbon or string for hanging.
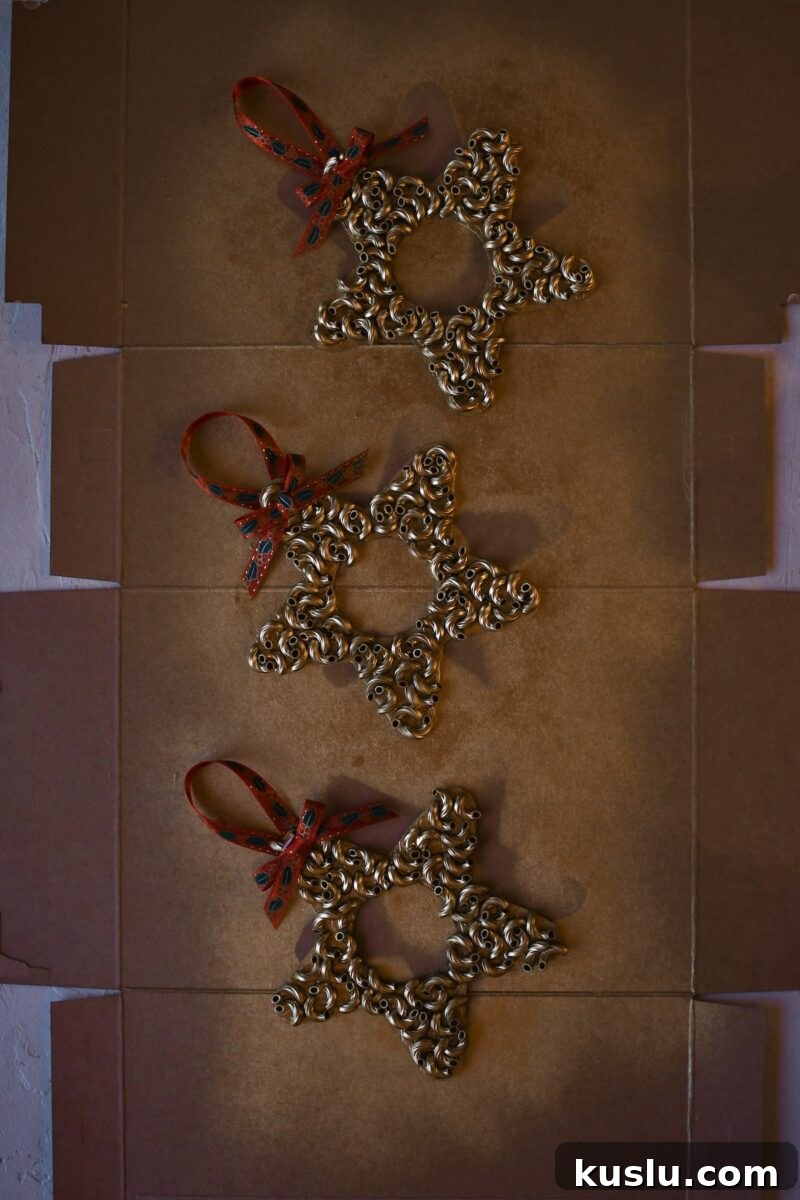
6. Take photos of family members in festive shirts with an Instax camera or print small photos to fit. Trim the corners and a bit of the bottom if needed so the photo slips behind the star’s center opening and sits flush against the back.
7. Glue the photo to the back of the star frame, aligning it so the face or subject shows through the center cutout. Press gently until secure.
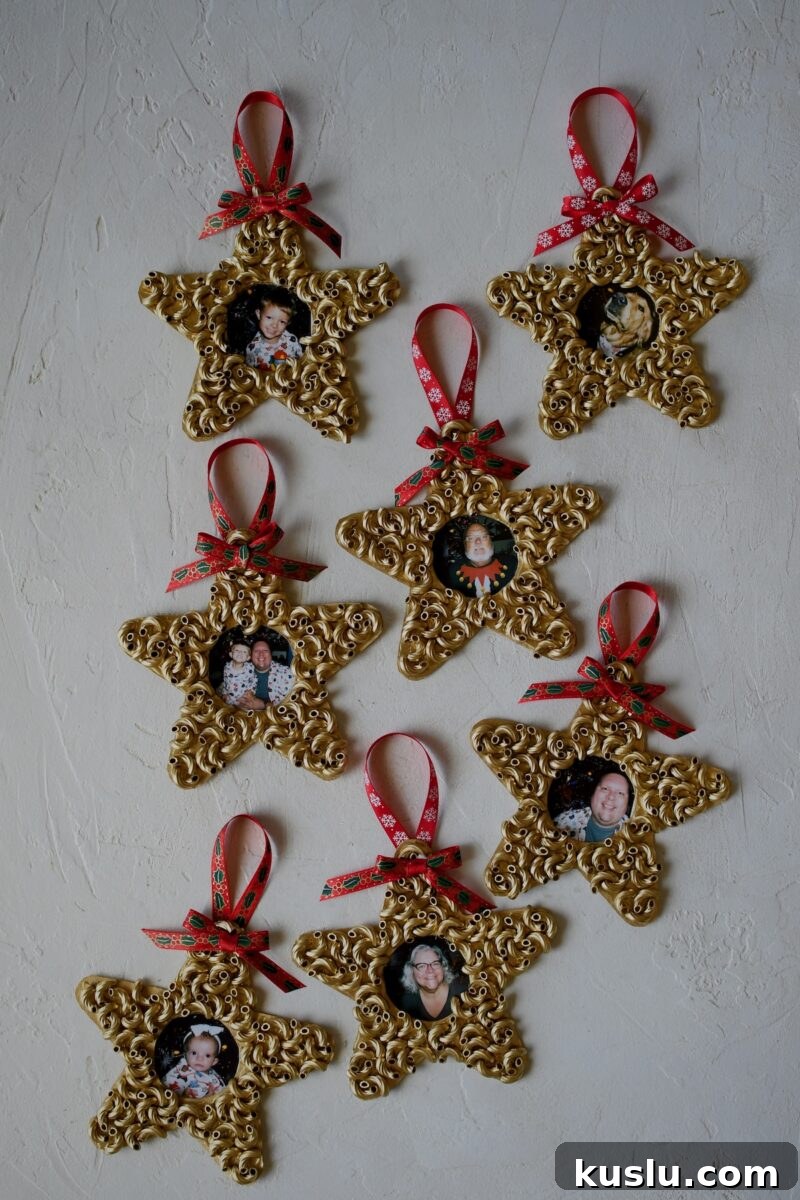
That’s it—hang your pasta photo stars on the tree and enjoy the warm, personal touch they bring to your holiday decor. Little ones will love helping hang them, and they make wonderful keepsakes to cherish for years.
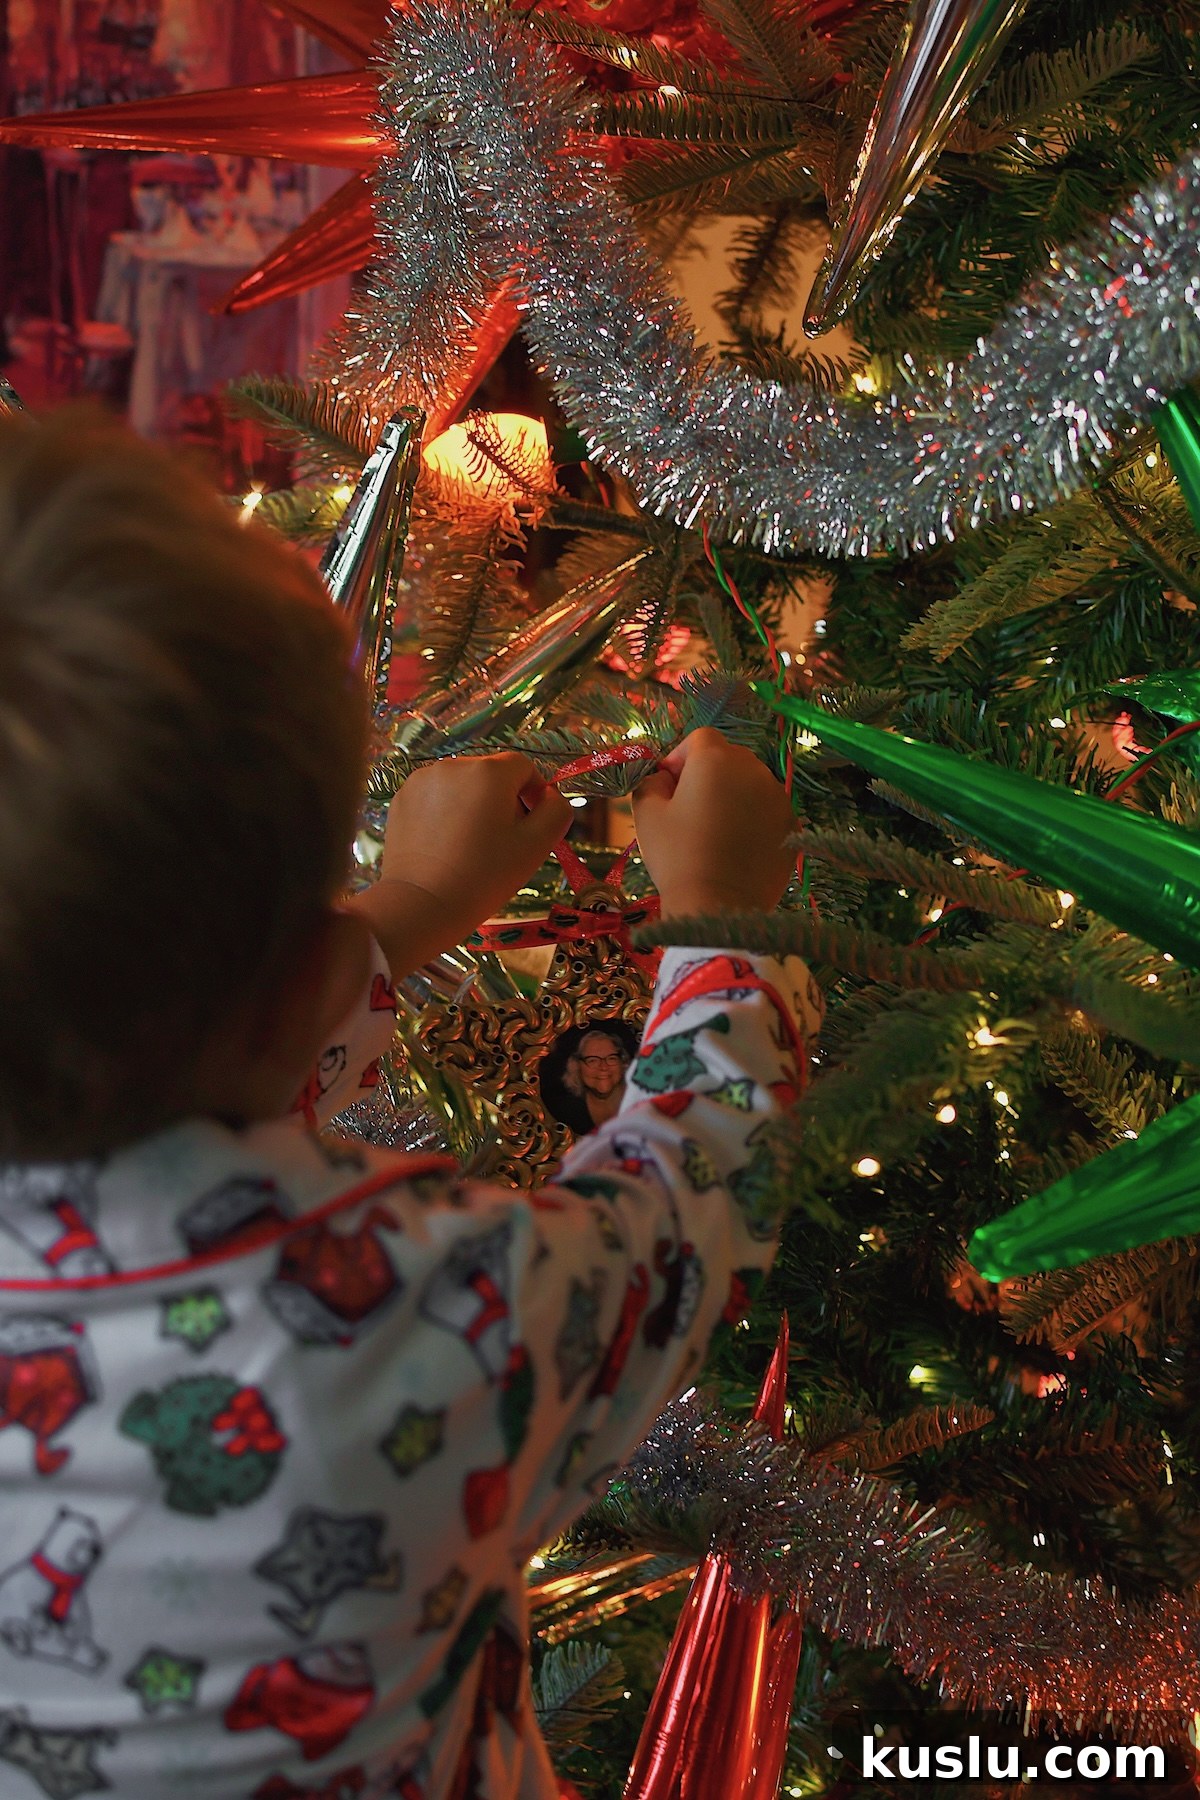
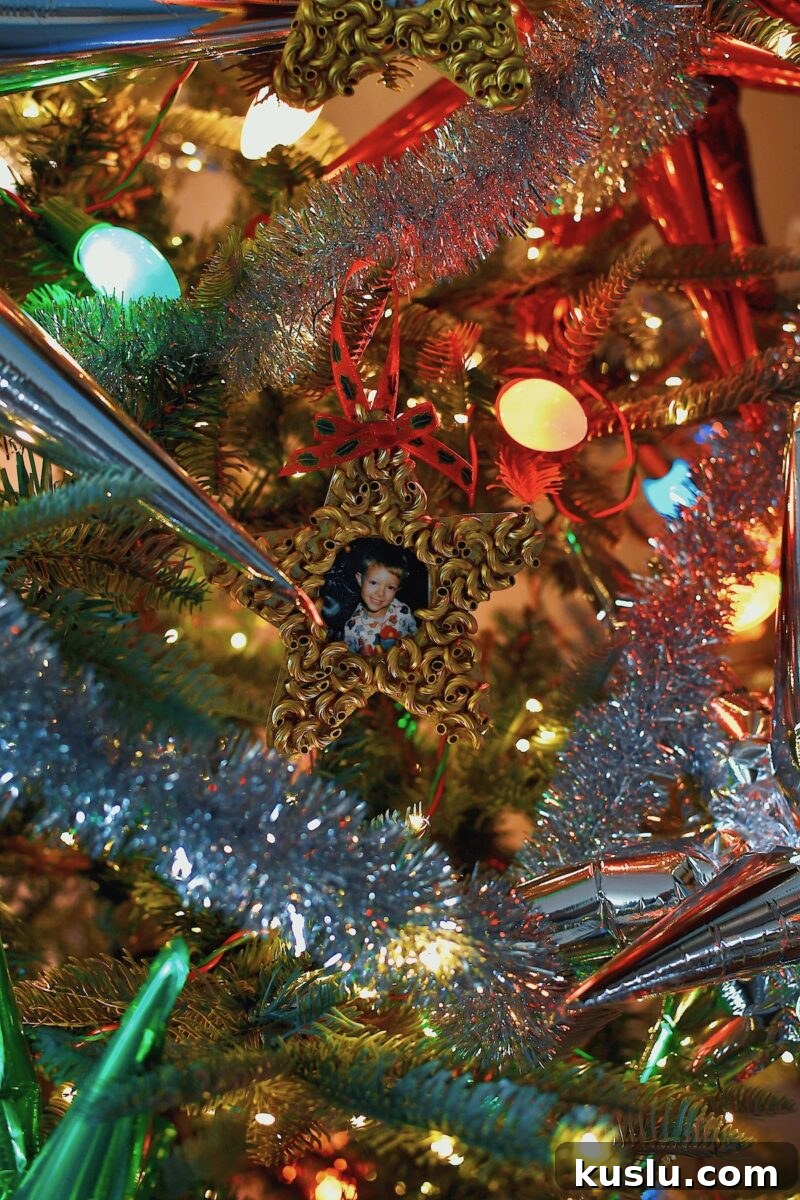
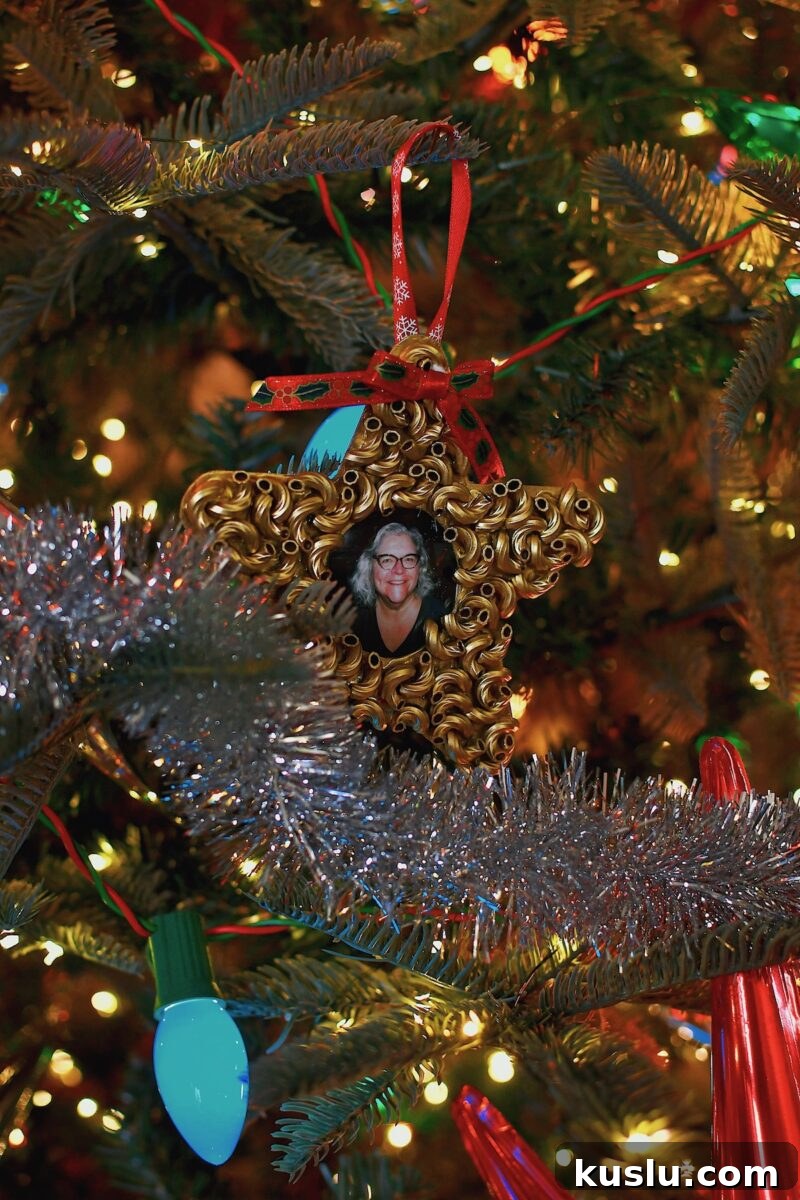
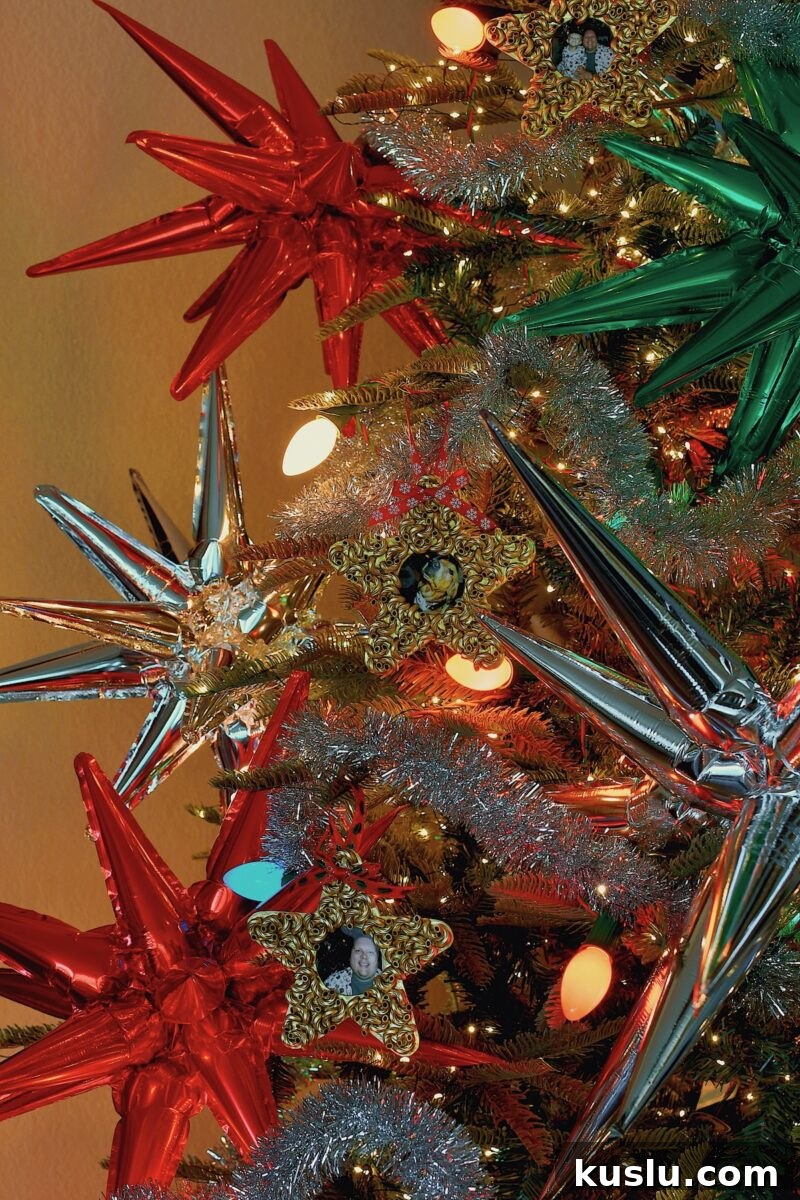
If you enjoy homemade holiday crafts, these pasta photo stars pair nicely with other DIY ornaments and seasonal baking projects. They’re an easy, budget-friendly way to make the tree feel personal and full of memories.