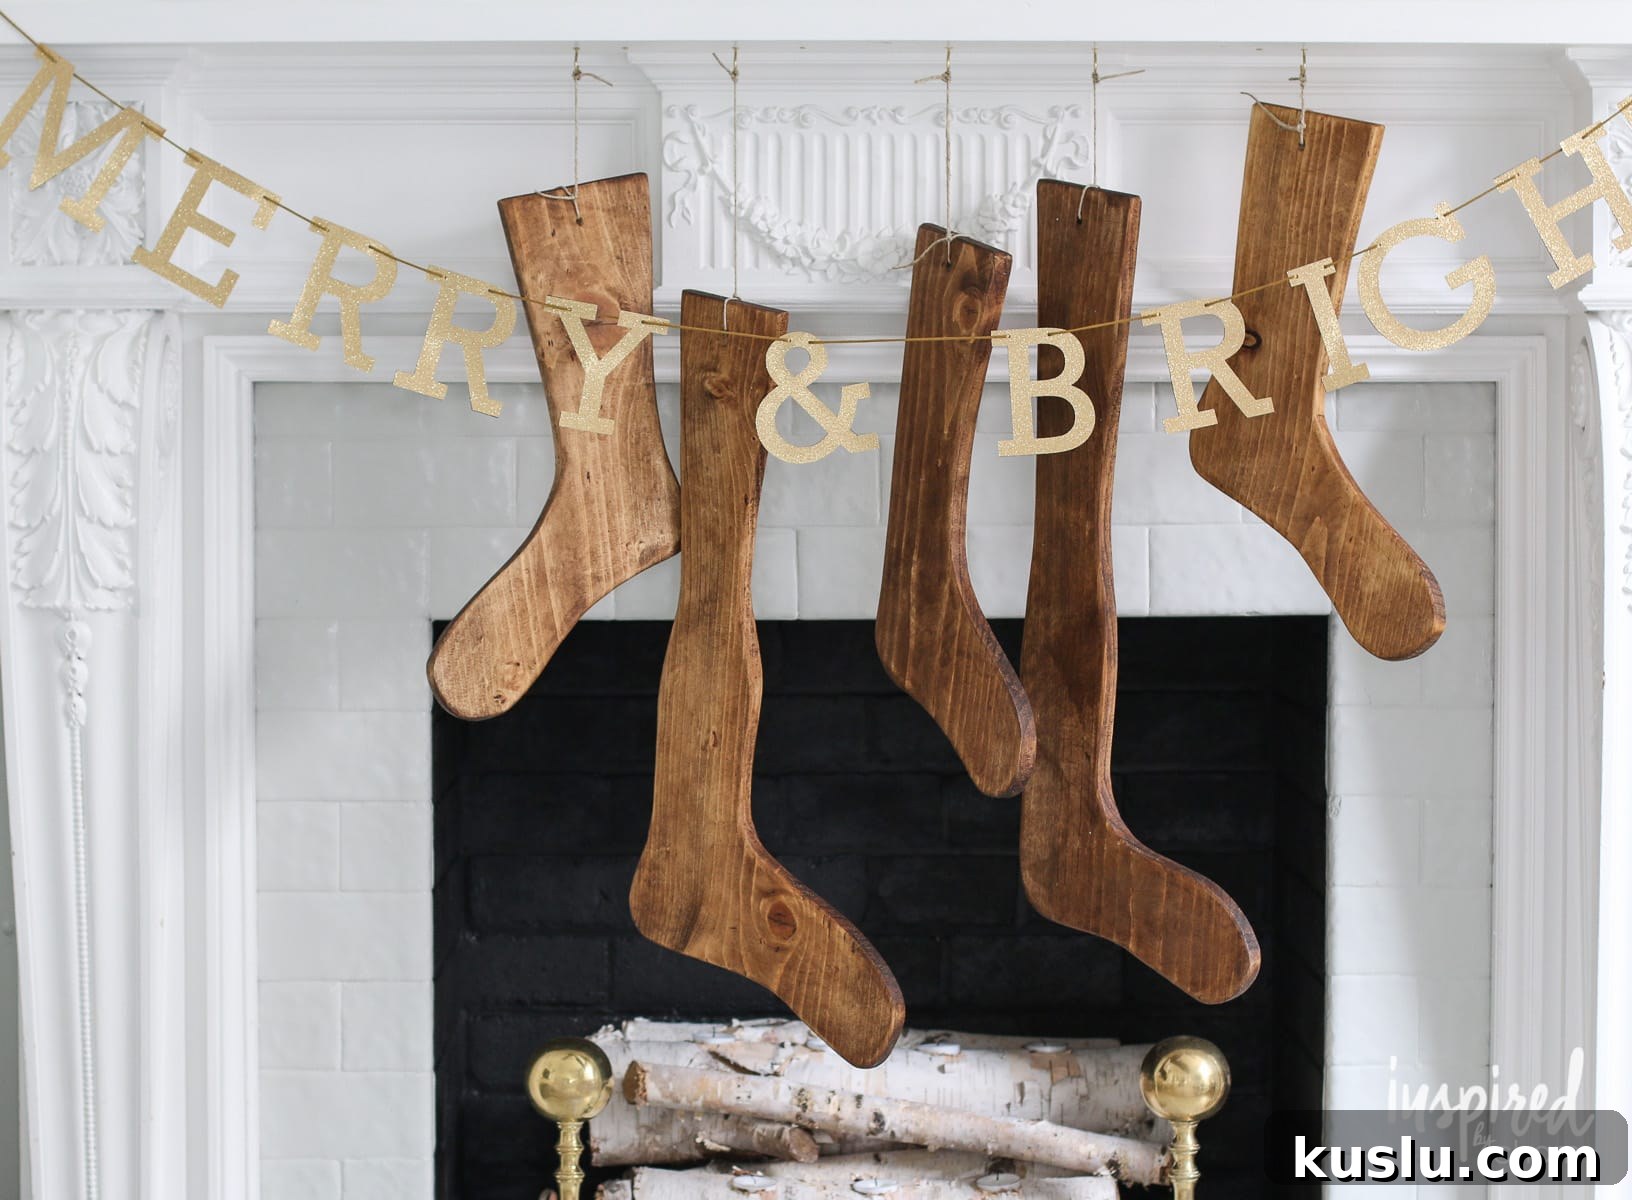
DIY Wood Stockings for a Vintage Christmas Mantel
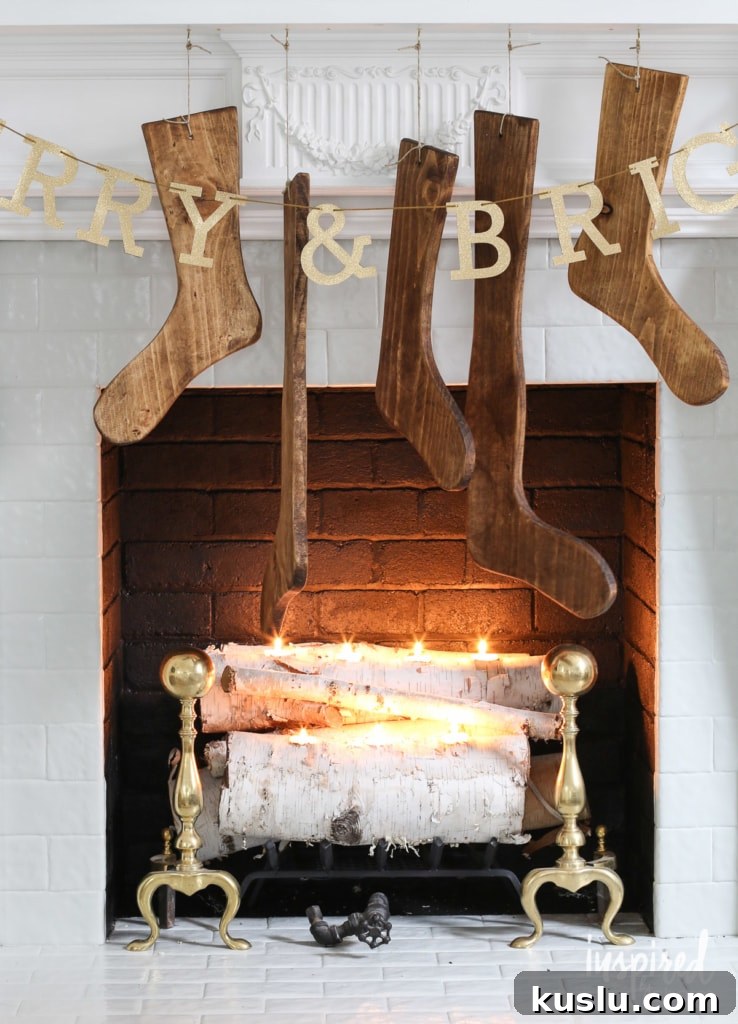
Grab your jigsaw, put on your safety glasses, and get ready for a festive woodworking project. Today’s Christmas DIY is all about creating decorative wood stockings that bring a warm, vintage-inspired touch to a holiday mantel.
This project combines seasonal decorating with a little hands-on sawdust making. If you love rustic Christmas decor, vintage holiday style, or handmade mantel decorations, these DIY wood stockings are a beautiful way to add character to your home without relying on traditional fabric stockings.

Vintage wood sock forms have been used by bloggers and designers as decorative stockings for fireplaces and holiday displays, and it is easy to see why. They have a charming old-world look, and their simple shape feels both nostalgic and unique. After looking for original wood sock forms, I found that many were more expensive than expected and did not quite match the look I wanted. Instead of giving up on the idea, I turned it into a DIY challenge.
I had never used a jigsaw before starting this project, but this felt like the perfect opportunity to try something new. The goal was to create my own “vintage” sock forms from wood and use them as Christmas mantel stockings. The finished pieces have the aged, rustic look I hoped for, and they add a personal handmade detail to the holiday decor.
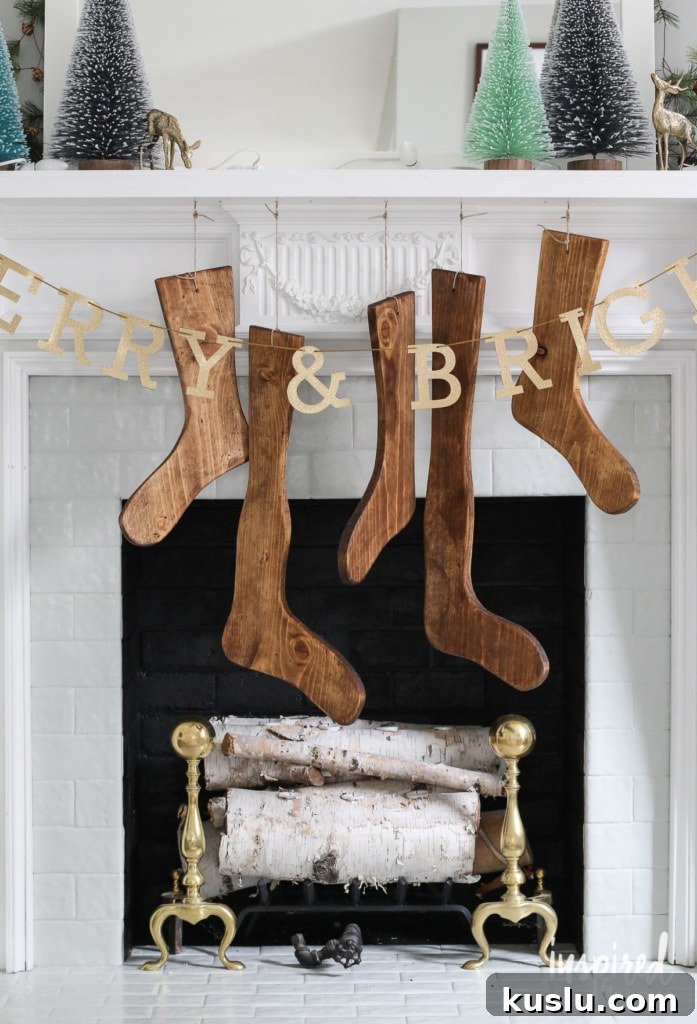
The result is simple, authentic-looking, and full of holiday charm. These DIY wood stockings are not meant to replace soft stockings if you need something to fill with gifts, but they are perfect as decorative Christmas mantel accents. They bring texture, warmth, and a handcrafted feel to the room.
After gathering the tools and supplies, the project came together as a unique and personal way to decorate the fireplace for Christmas. The wood tones work beautifully with rustic, farmhouse, traditional, and vintage holiday decorating styles.
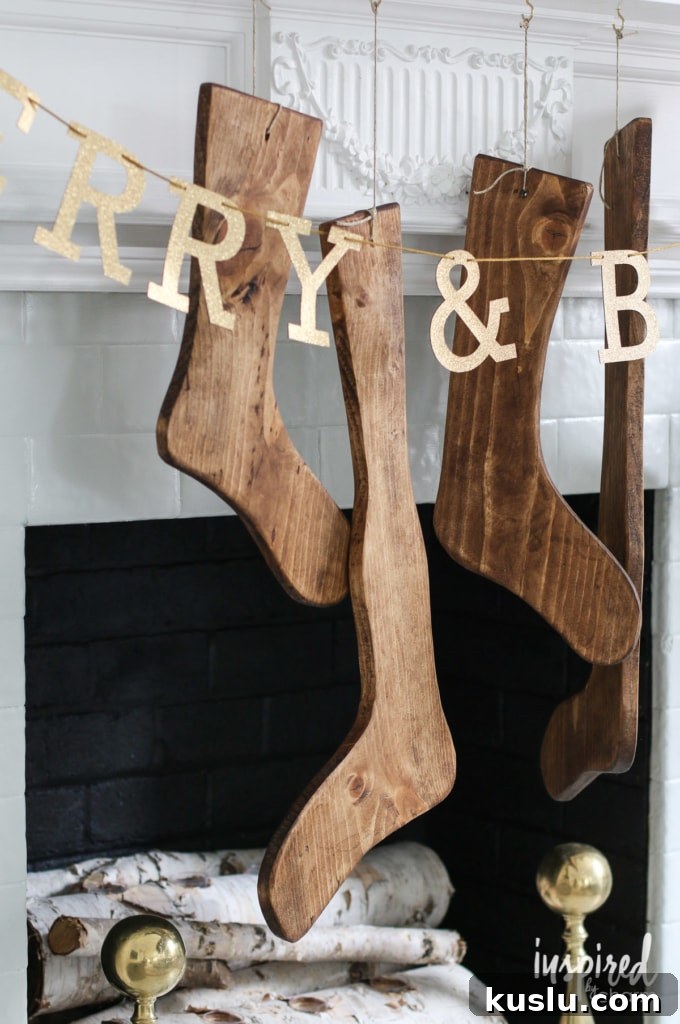
One of the best things about these wooden stockings is the vintage element they add to a space. They pair naturally with wood floors, a wood-topped coffee table, greenery, garland, candles, and other classic Christmas decorations. Their simple shape keeps the overall look clean, while the stained wood finish gives them a collected, timeworn feeling.
If you would like to make your own DIY wood stockings, the process is straightforward and suitable for a beginning woodworker or an enthusiastic DIY decorator. Take your time, work safely, and enjoy creating a custom piece you can use year after year.
Supplies Needed for DIY Wood Stockings
For this project, you will need 1-inch by 12-inch by 4-foot pine boards, a jigsaw, an orbital sander, a drill with a drill bit, wood stain, finishing wax, cotton rags, latex gloves, twine, a pencil, and safety glasses. I used Minwax Provincial stain for a warm rustic finish, but you can choose a stain color that works best with your Christmas decor.
Before you begin cutting, make sure your workspace is safe and stable. Always follow the safety instructions for your specific tools, especially if you are new to using a jigsaw. Wearing safety glasses is important, and it is also helpful to keep your board firmly supported while cutting.
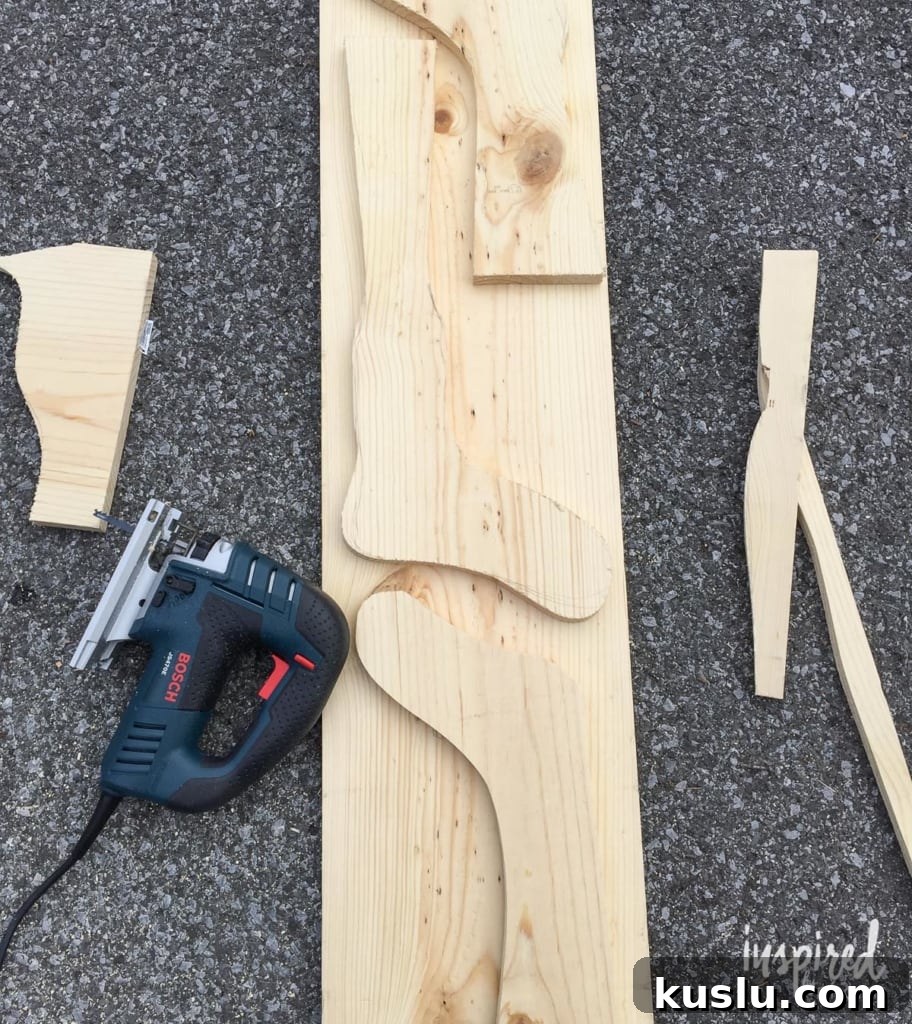
Step 1: Draw the Stocking Shapes
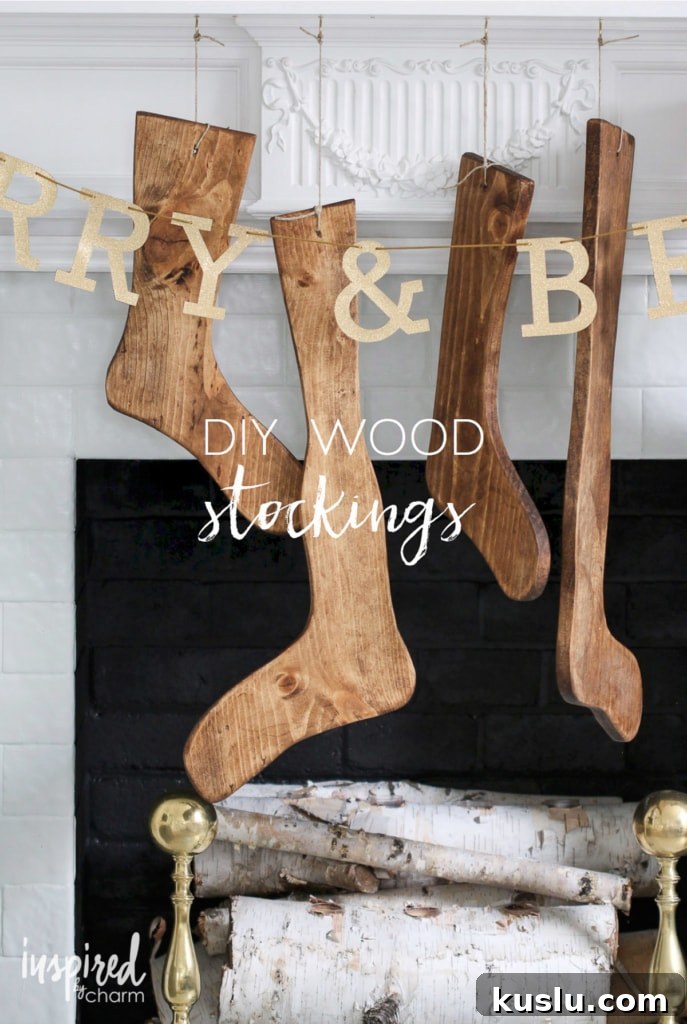
Using a pencil, sketch your sock forms directly onto the wood. I freehanded mine, which gave each stocking a slightly different shape and made them feel more like vintage pieces. You can use these photos as inspiration or look at the general silhouette of old sock forms for guidance.
My stockings range from about 15 inches to 26 inches long. Once you have cut out one or two shapes, you can trace them onto another board to create additional stockings. Slightly adjusting the tracing will help each one look individual rather than perfectly identical.

Step 2: Cut the Wood Stockings
Next, use your jigsaw to cut out each stocking shape. Move slowly and carefully, especially around the curves. If this is your first time using a jigsaw, practice on a scrap piece of wood before cutting your final shapes. Always follow the safety precautions listed in your tool’s operation manual.
After cutting, drill a hole near the top of each stocking, about 1 1/2 inches down from the top edge. This hole will be used later for the twine or string, allowing the finished wood stockings to hang easily from a mantel, hook, banister, or another display area.
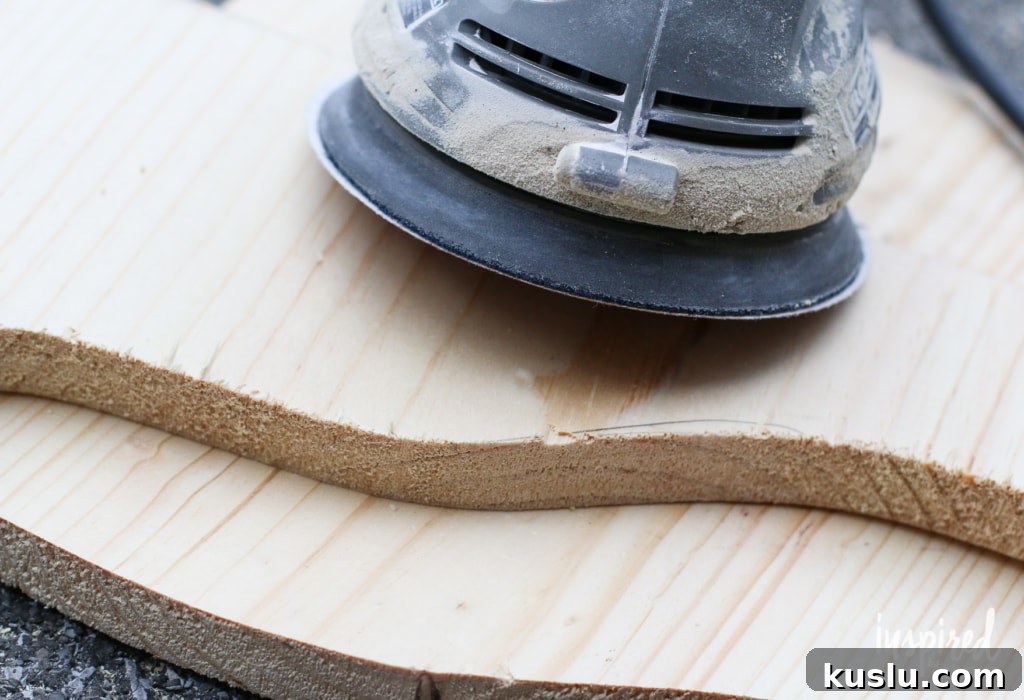
Step 3: Sand the Edges
Once all of the forms are cut and drilled, use an orbital sander to smooth the wood. Sand away any pencil marks and soften the edges. I rounded the edges slightly so the stockings would look more worn and less freshly cut. This small detail helps create the vintage-inspired appearance.
After sanding, remove all dust from the surface of the wood before staining. A clean surface will help the stain absorb more evenly and give the finished stockings a smoother look.
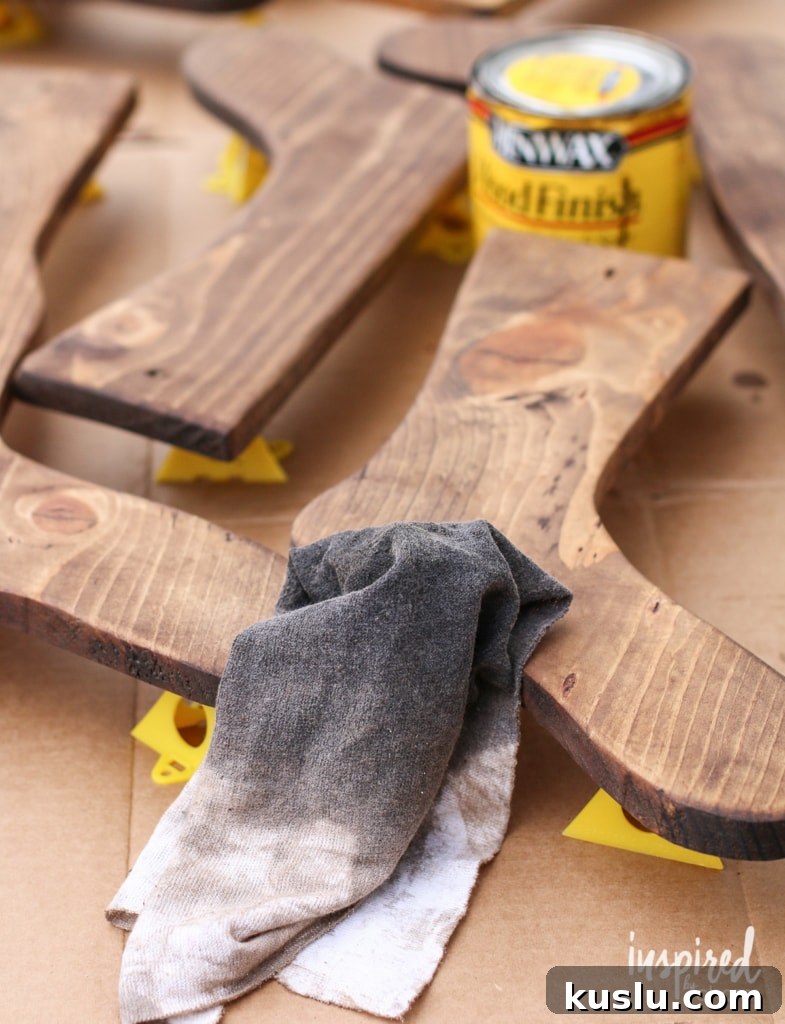
Step 4: Stain the Wood
Now it is time to stain the stockings. Put on latex gloves and apply the stain with a lint-free cotton rag. Work the stain into the wood, then wipe away any excess. This step gives the wood a richer color and helps the stockings feel rustic and aged.
Allow the stain to dry completely before moving on. Drying time may vary depending on the stain you use, the temperature, and the humidity in your workspace.
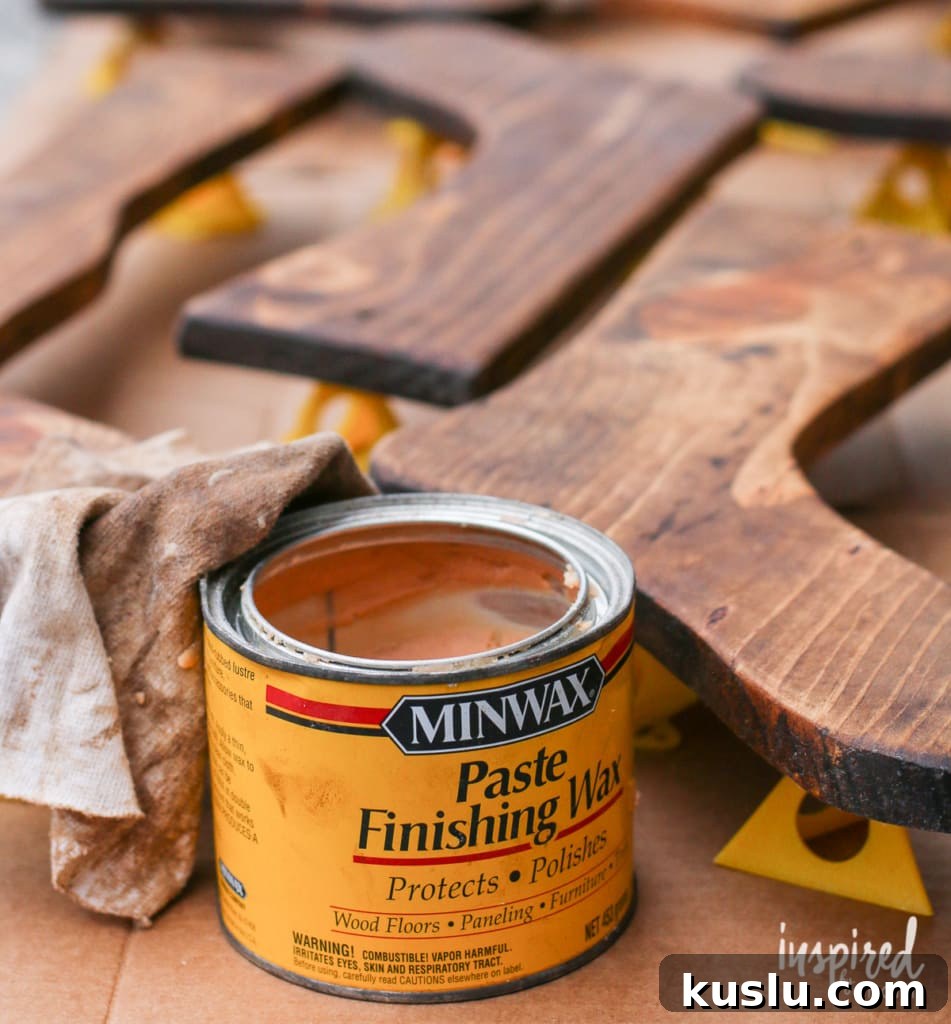
Step 5: Seal with Finishing Wax
After the stain has dried, seal the project with finishing wax. With gloved hands, use a clean lint-free cotton rag to work the wax into the wood in a circular motion. Wipe away any excess wax with another rag.
Let the wax dry completely. Overnight drying is best if you have the time. The finishing wax helps protect the surface and gives the stockings a soft, finished look without making them feel overly polished.
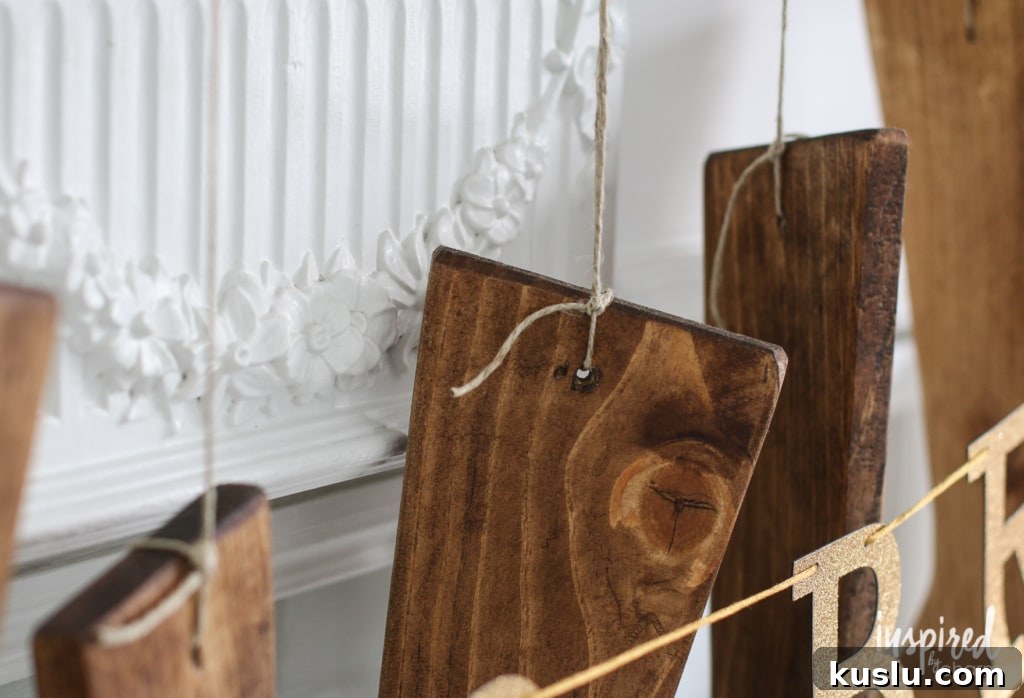
Step 6: Add Twine and Hang
Finally, thread twine or string through the hole you drilled earlier. Once the twine is tied securely, your new “vintage” wood stocking is ready to hang.
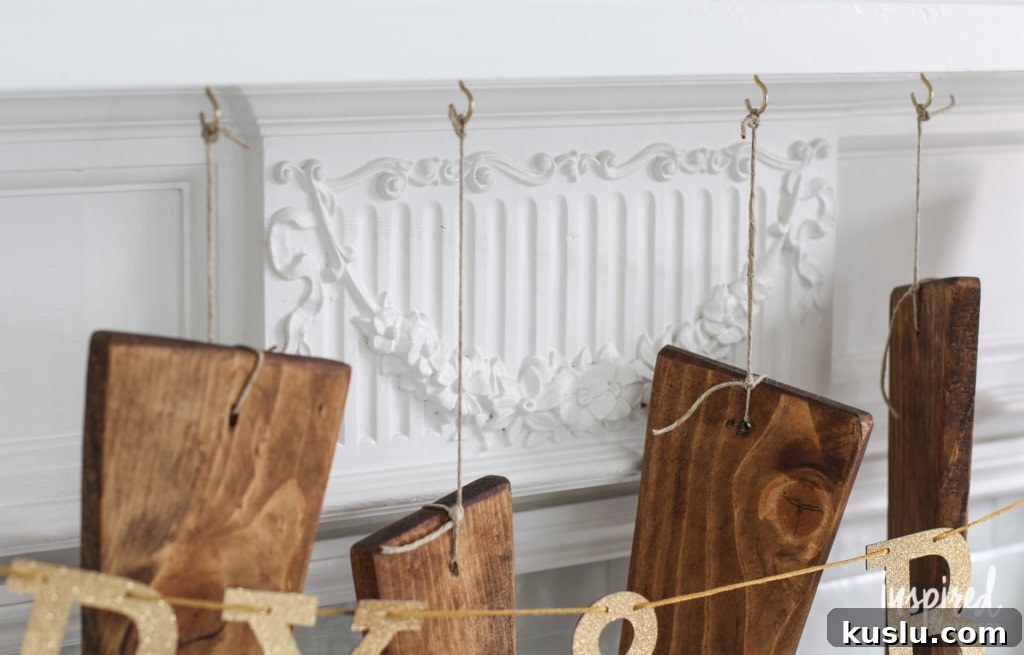
I used small gold hooks drilled into the underside of my mantel to display the wood stockings, but you can use whatever hanging method works best in your home. The twine makes them easy to style in different places throughout the season.
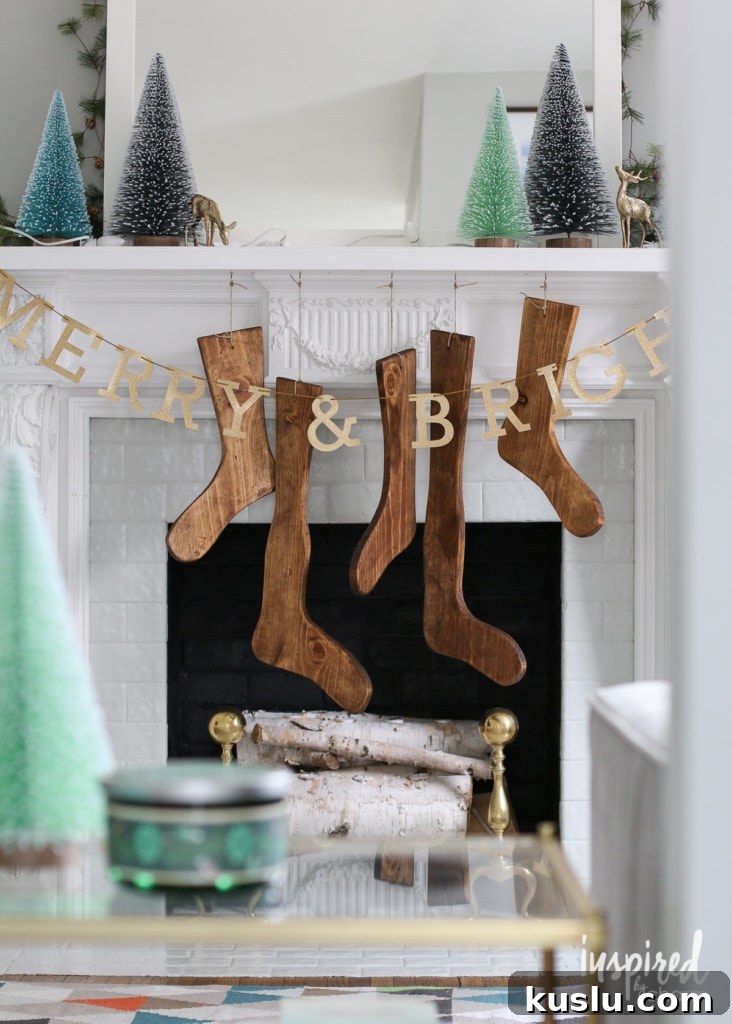
A few additional notes may help you customize this Christmas woodworking project. I chose stain because I wanted a rustic vintage finish, but paint would also work well if you prefer a crisp, bold, or colorful look. White, red, green, black, or metallic paint could all create a completely different style.
You also do not need a fireplace mantel to enjoy these DIY wood stockings. One would look charming hanging from a coat hook, a stair banister, a dresser, a bookcase, or even a wall peg. They can be grouped together or used individually as simple holiday accents.
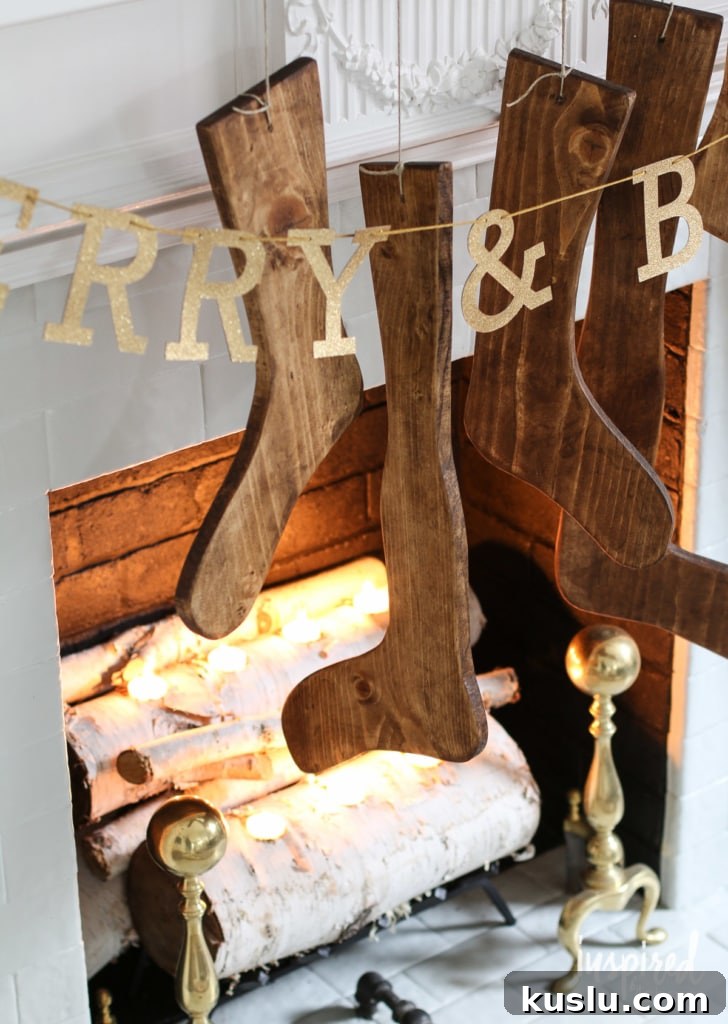
No matter how you choose to display them, these DIY wood stockings are a fun and approachable project for Christmas decorating. They are especially great if you want handmade holiday decor that feels personal, rustic, and a little unexpected.
I hope this project inspires you to try making your own wooden Christmas stockings. With a few basic tools, simple pine boards, stain, wax, and twine, you can create a set of vintage-inspired decorations that add warmth and character to your holiday home.