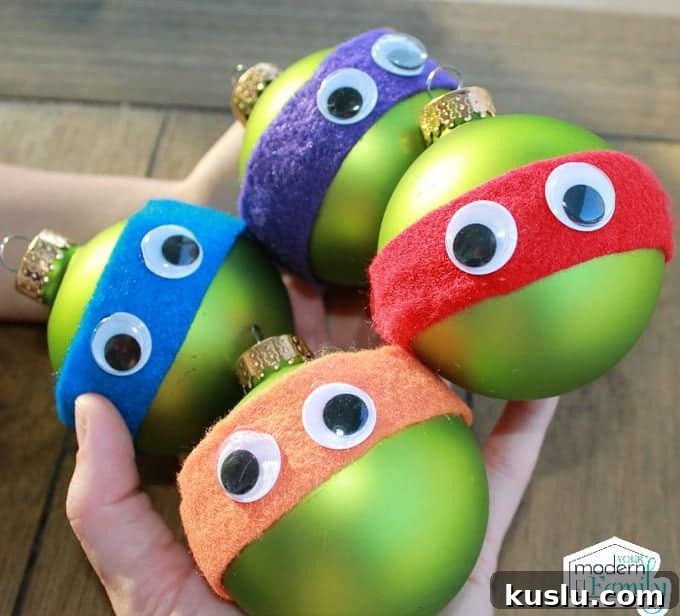
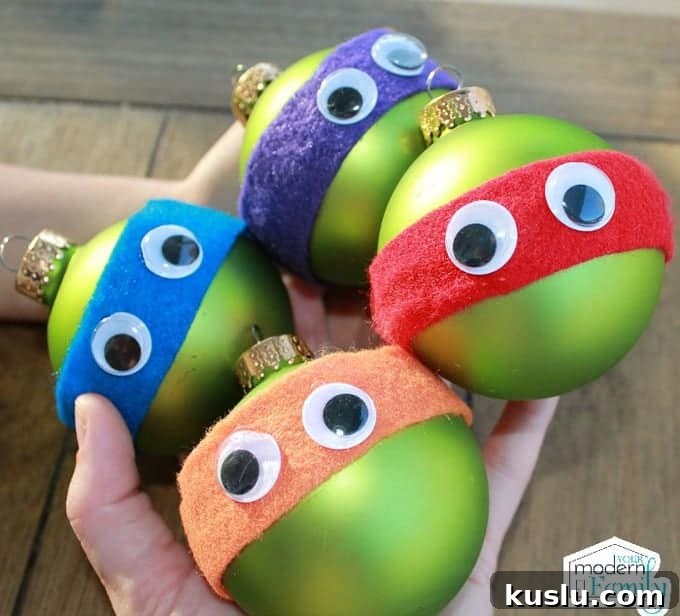
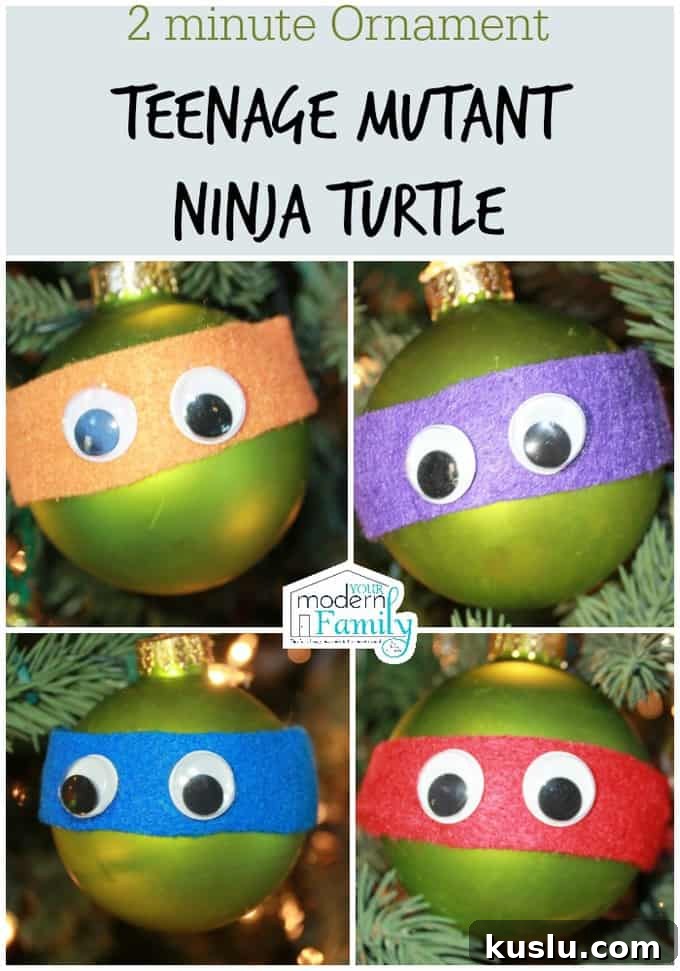
Have you seen our Teenage Mutant Ninja Turtle ornaments? I first shared these homemade Christmas ornaments a few years ago, and this week we made them again. They were just as fun and easy as the first time, so I wanted to share the updated directions so you can make your own TMNT ornaments this holiday season.
Teenage Mutant Ninja Turtle Ornaments
One evening our kids were looking through the stack of holiday toy catalogs we always get this time of year and they spotted a Teenage Mutant Ninja Turtle ornament and matching toy. Instead of buying one, I suggested we make our own ornament, and we all had a great time crafting them together.
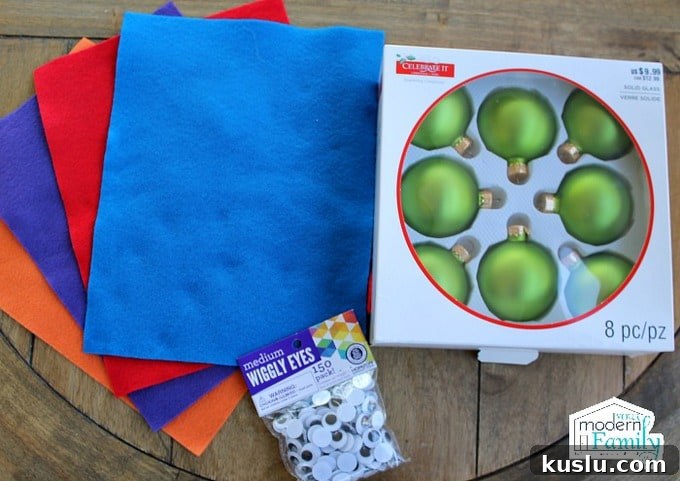
What you need to make Teenage Mutant Ninja Turtle ornaments:
- Green round glass or plastic ornaments (plain, matte or shiny)
- Felt squares or felt strips in different colors for the bandanas
- A hot glue gun and glue sticks
- Small wiggly eyes or tiny craft eyes
- Scissors and a scrap piece of cardboard for a work surface
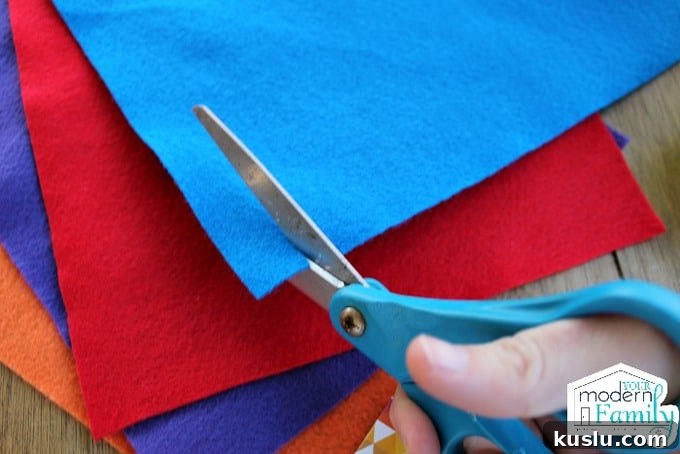
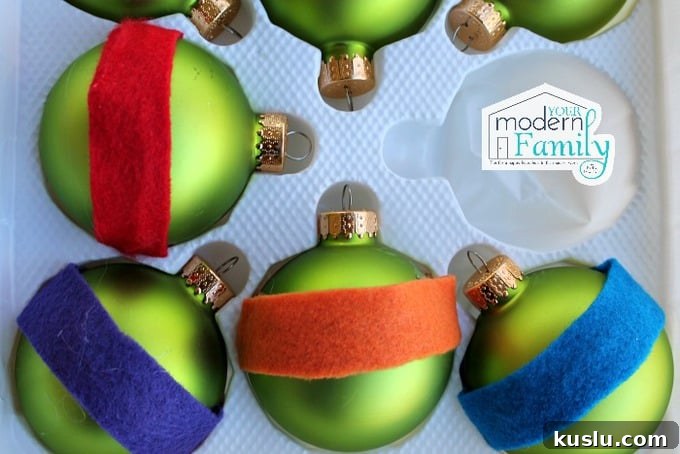
Start by cutting felt into four strips for the bandanas that go across each turtle’s face. The strips should be wide enough to cover the ornament where the eyes will go and long enough to wrap slightly around the back so they stay secure. You can adjust width and length depending on the size of your bulbs.
Remove four green bulbs from the package and set them on your work surface. Working with a small group of ornaments at a time keeps things tidy and helps the glue dry before you add the eyes.

Apply a thin ring of hot glue across the ornament where the bandana will sit. Keep the glue line narrow to avoid lumps and to make sure the felt lies flat against the bulb. If you prefer not to use hot glue, a strong craft adhesive can work as well, but allow extra drying time.
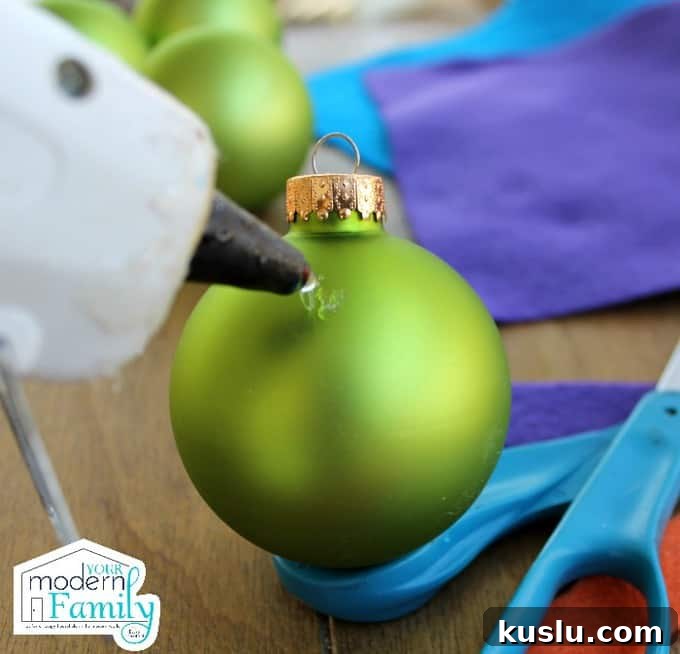
Carefully press the felt strip over the glue, smoothing it so it lays flat and evenly across the front of the ornament. You can overlap the felt slightly at the ends and press them together on the back so the strip stays secure.
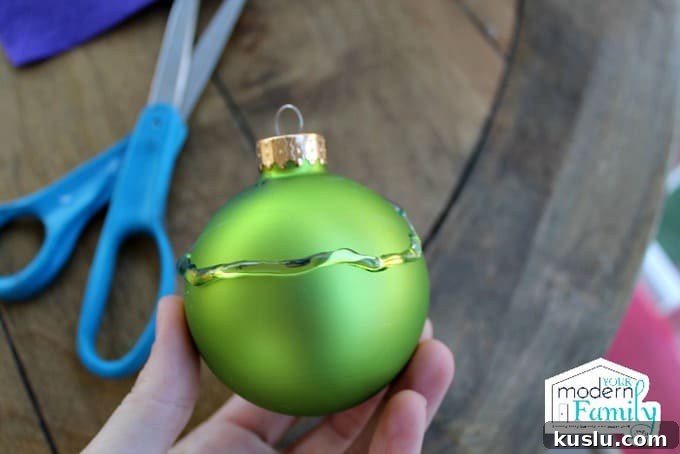
Repeat this for each ornament. Use different colored felt strips for each turtle to create the signature red, blue, purple, and orange bandanas. This simple color change gives each ornament its own personality and makes them easy for kids to recognize.
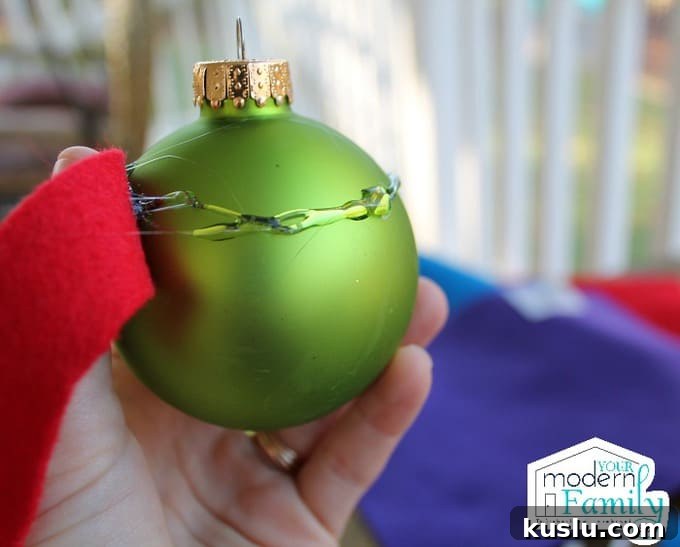
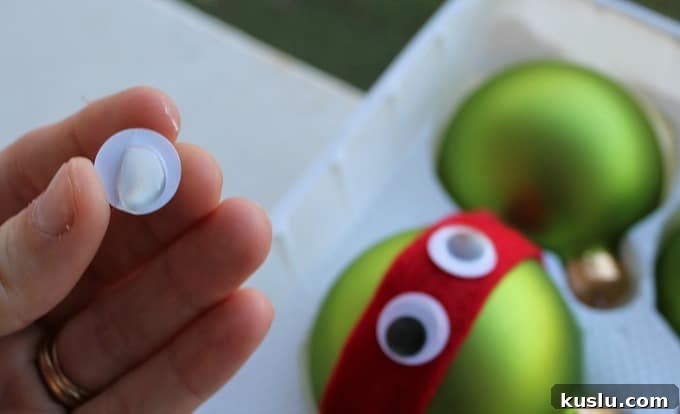
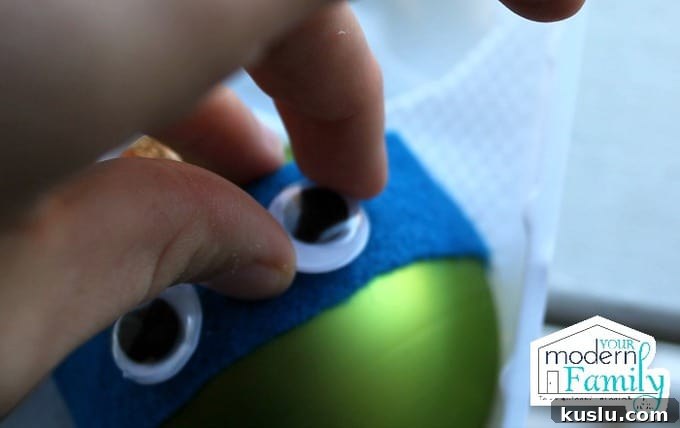
Once the felt is secure, add a small dab of glue to the back of each wiggly eye and press the eyes onto the felt bandana. Place them evenly apart so the face looks balanced. If you like, use craft paint or a fine-tip marker to add small details like a slight mouth or nostrils, but the felt bandana and eyes are often enough to capture the look.
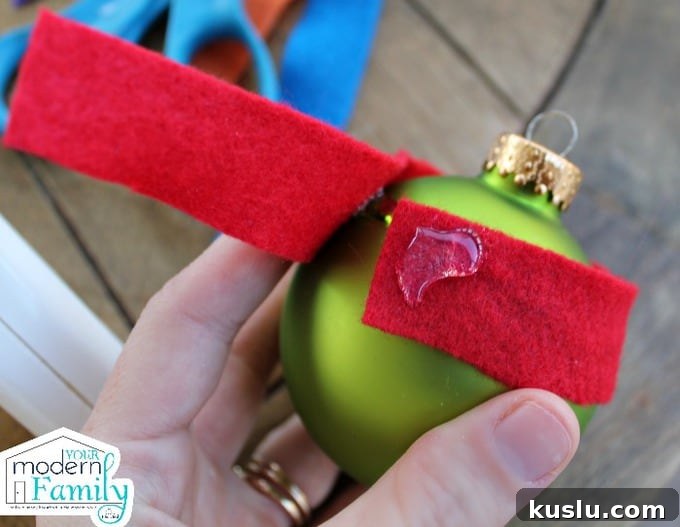
Add glue to the back of each eye and press it onto the felt so that the eyes adhere firmly. Hold each eye in place for a few seconds until the glue sets. If you are making these with young children, an adult should handle the glue gun to avoid burns.
That’s essentially all there is to it. Repeat the steps for each color and ornament until you have a full set. These are great for a themed tree, as gifts, or as stocking stuffers.
If you want to make the set extra special, consider adding a tiny tag with each turtle’s name, or wrap a small piece of twine as a necklace so the ornament can also be worn as a pendant for play. Another variation is to use glitter paint or a matte sealer over the ornament to change the finish.
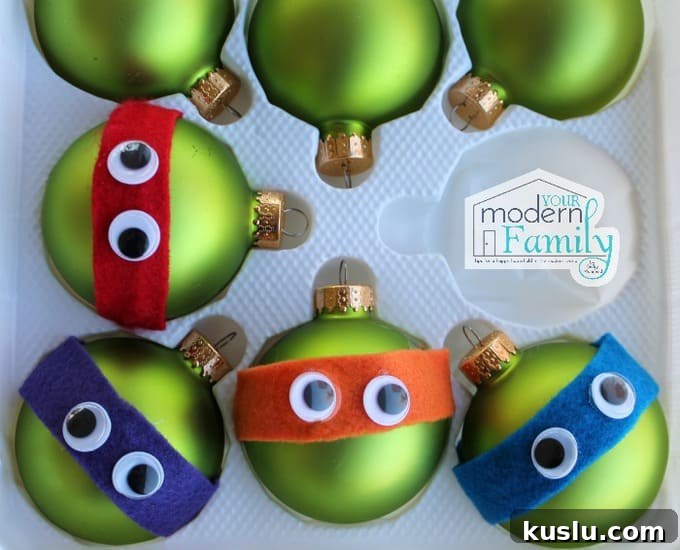
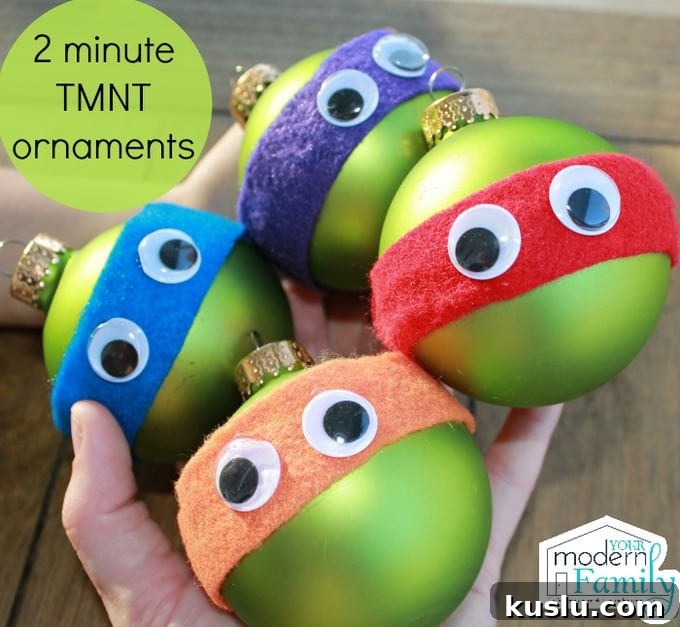
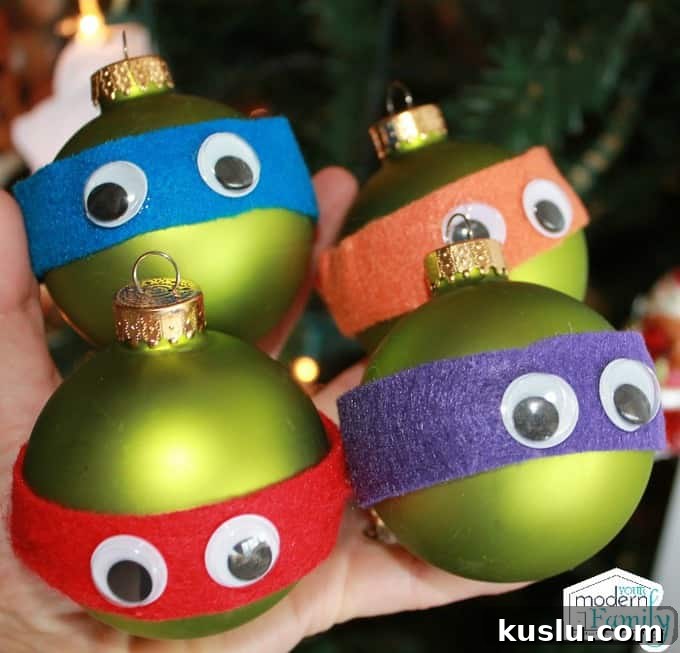
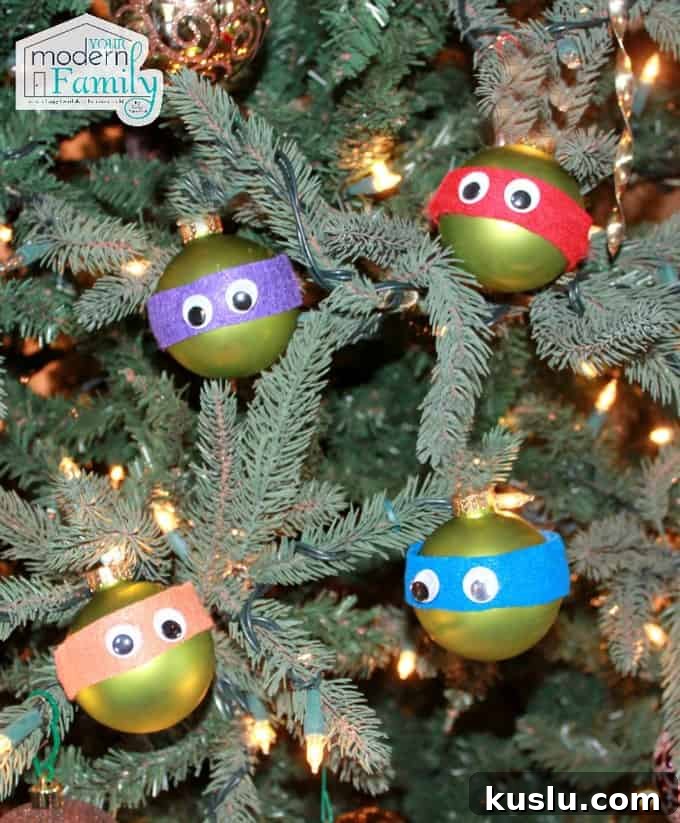
After we finished, each child took turns holding all four turtles and admiring their handiwork. They decided to hang them together on the tree so the turtles could “watch the front door” — a placement that made them very proud of their creation.
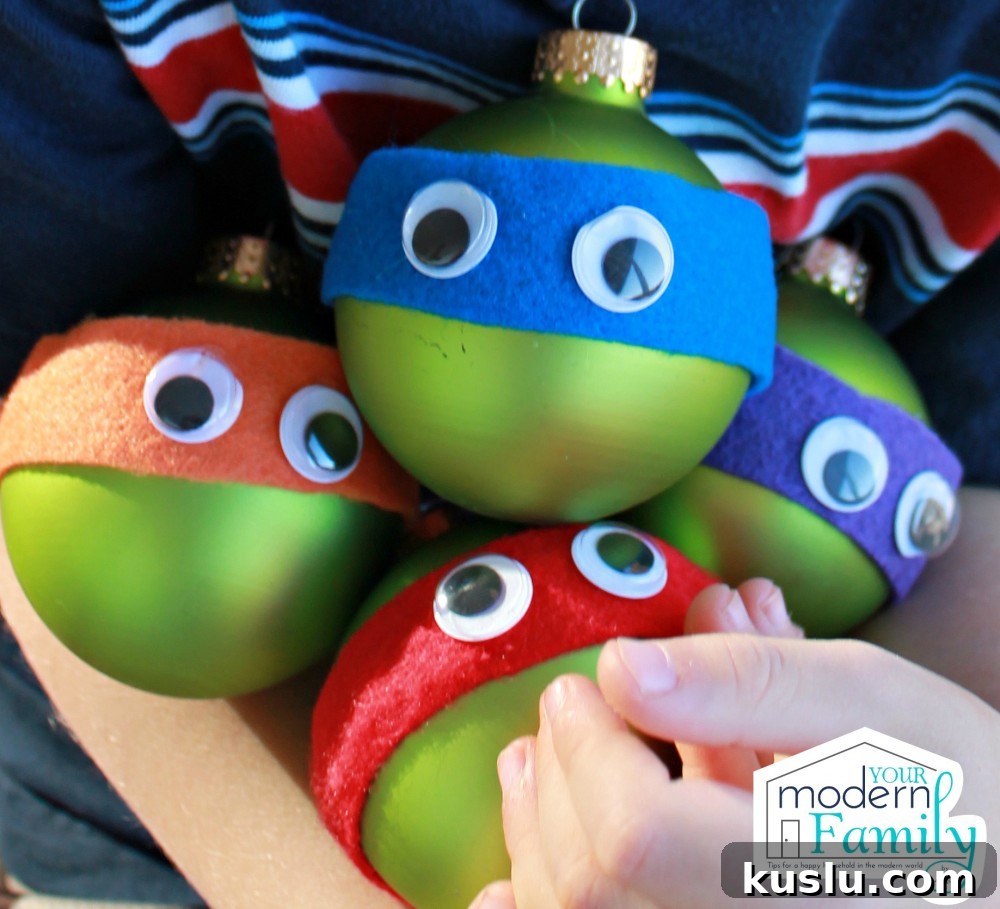
The kids placed the ornaments in a group on the tree where they could see them often. These simple, inexpensive ornaments are a fun family project that also make memorable decorations you can reuse year after year.
LIKE IT? PIN IT:
Other posts you might like:
DIY BRAID HAT

FREE PRINTABLES FOR YOU TO USE

FREE GIFT IDEAS